Table of Contents
Prep
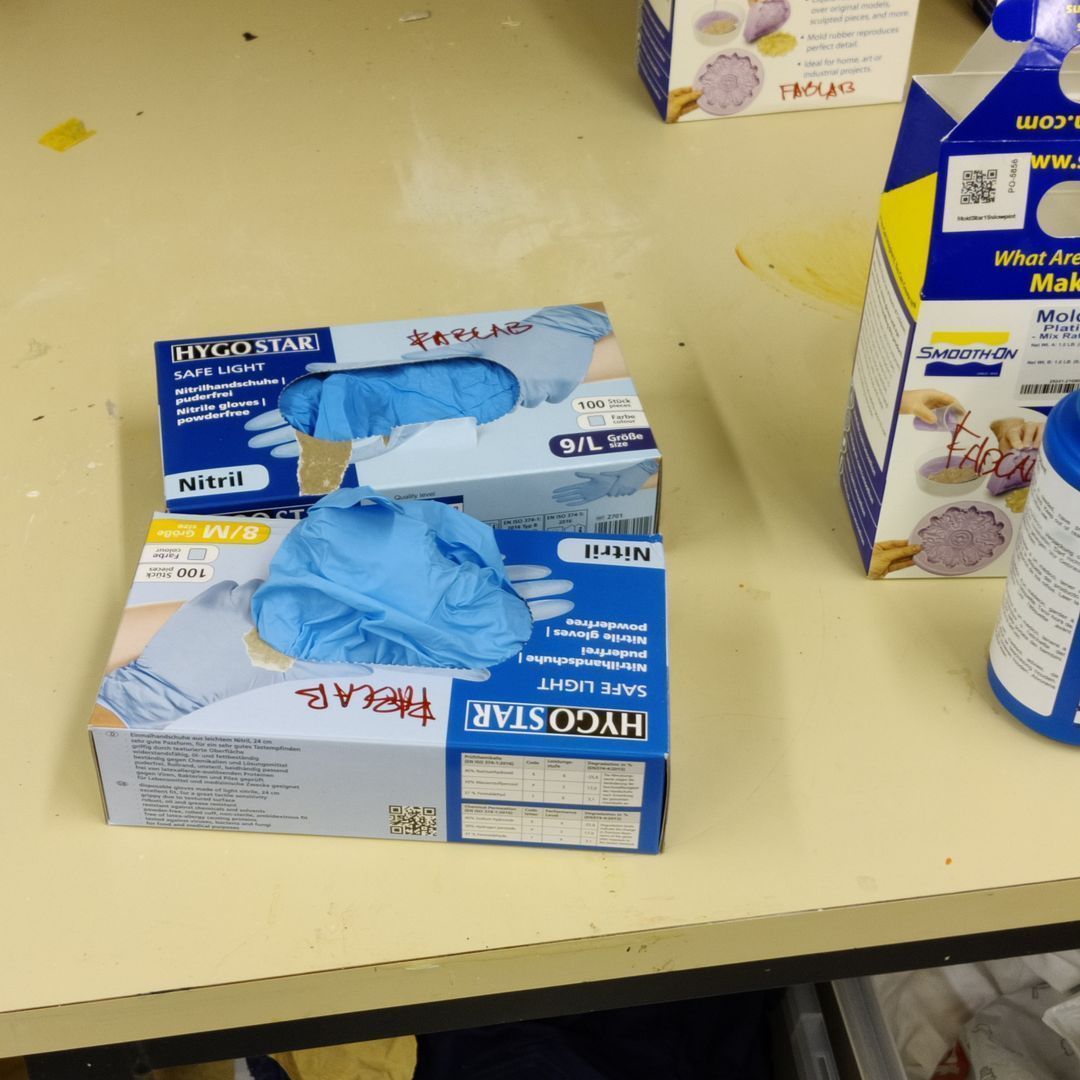
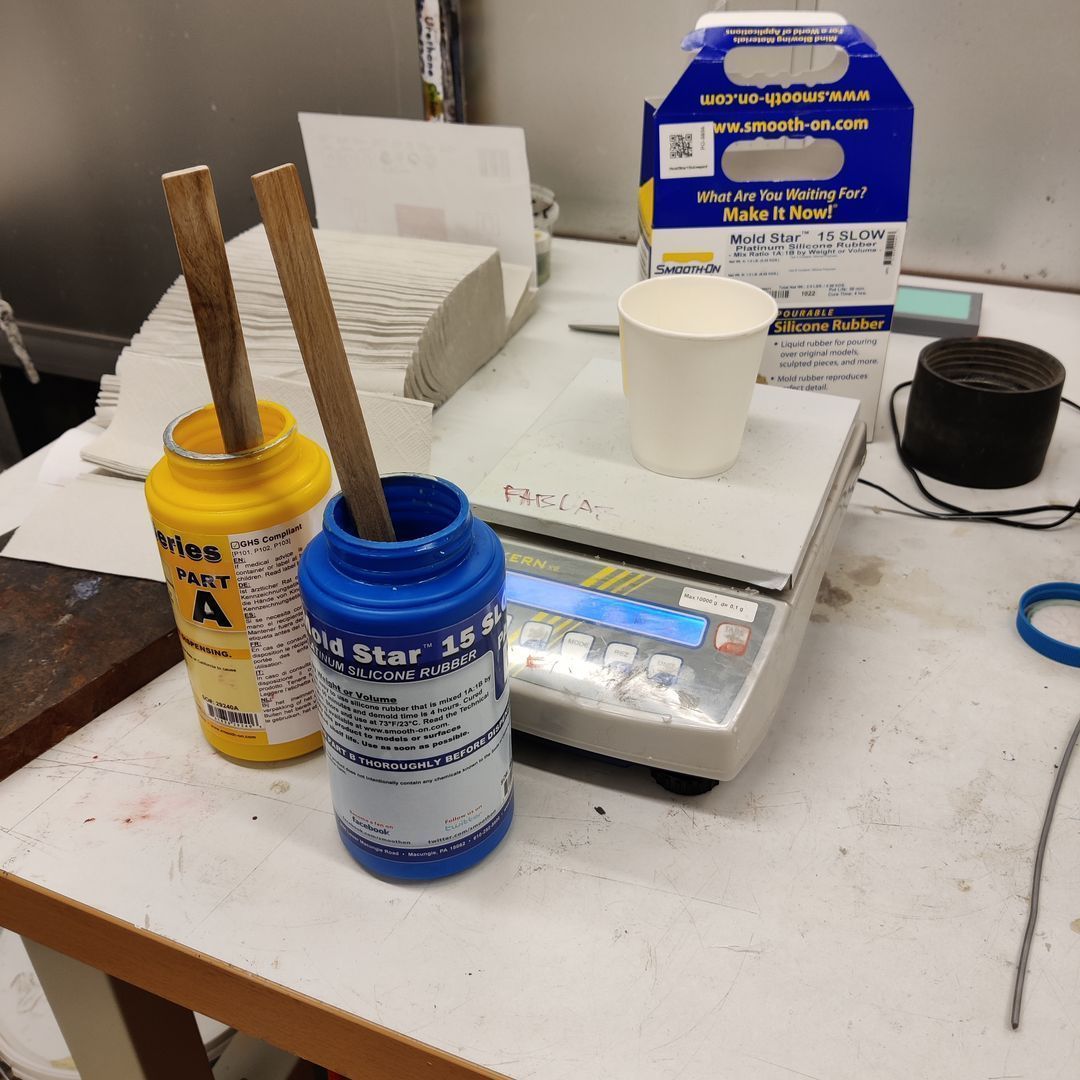
Firstly, remember to wear a lab coat when working in the molding room. Always wear gloves as well. Any surface in the room could be wet from any material, so you don’t want to be touching anything with your bare hands. When your gloves get dirty, throw them away and take new ones. And speaking of throwing stuff away, don’t ever put liquids in the trash.

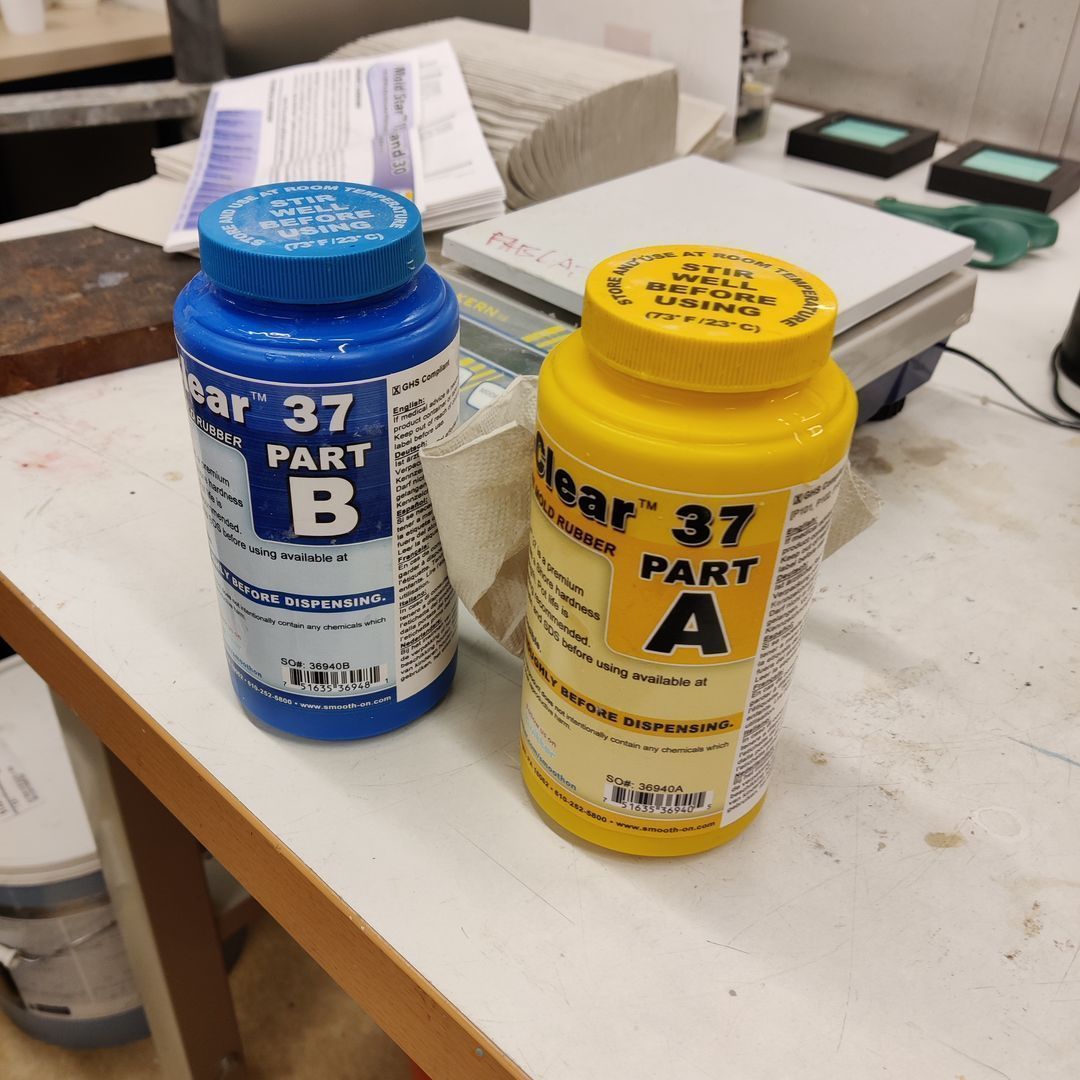
Also on that back table should be the materials. Each material is divided into parts A and B, which, when mixed together, will start curing, meaning they will slowly harden into the shape of their container. Materials for molding and materials for casting are the same in this respect, though they may take different times to start and complete the curing process. That information is found on each material’s box, and their datasheets. Worthy of note is that curing time is not constant, but is accelerated in higher temperatures.
Here are two examples of datasheets of materials that were available in the room: Mold Star, the one that was used in our introduction session SORTA-Clear Series some of these are food safe and can be used for casting chocolate for example. They’re numbered, and not all of them are food safe, so pay careful attention.
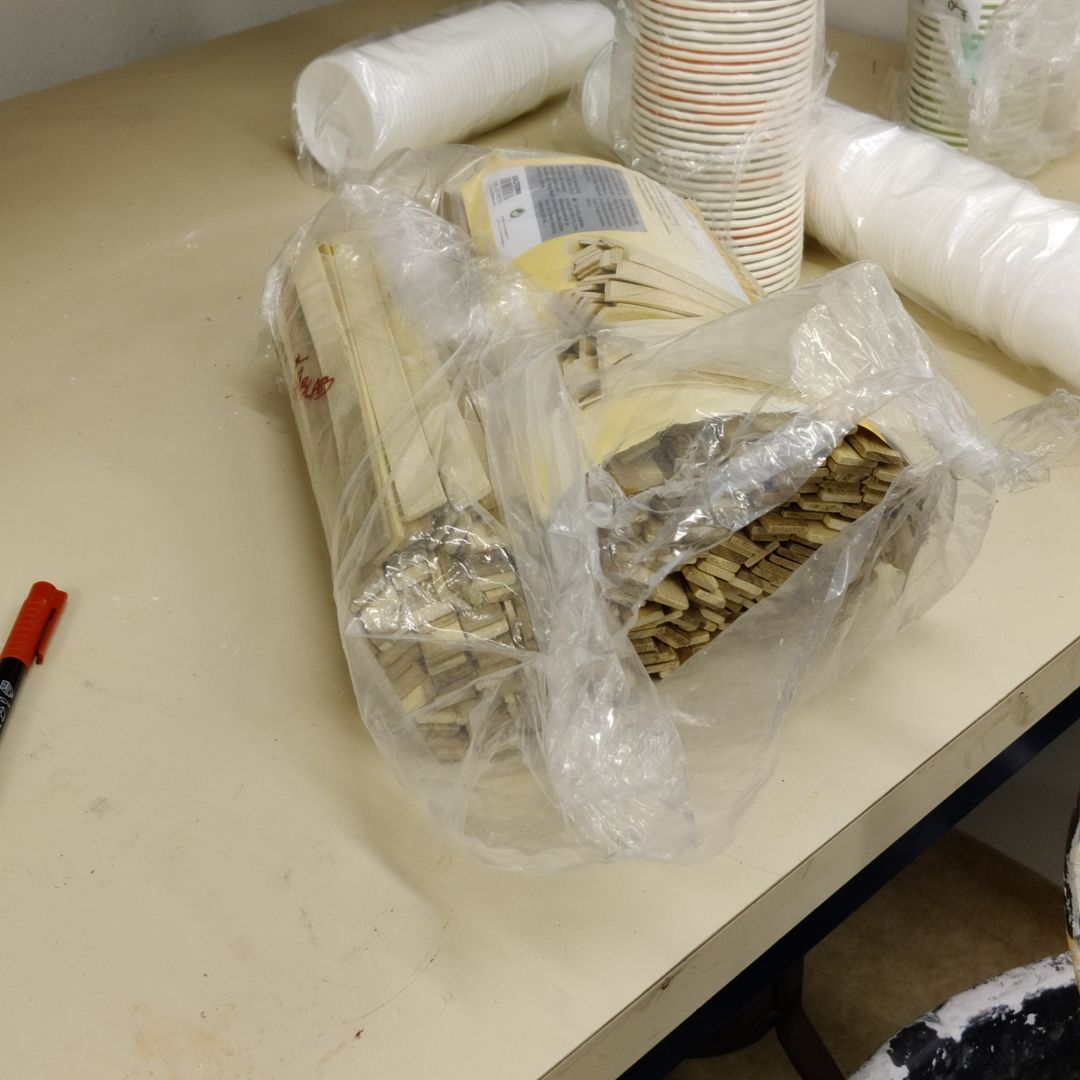
Mixing sticks and cups are found on that back table as well.
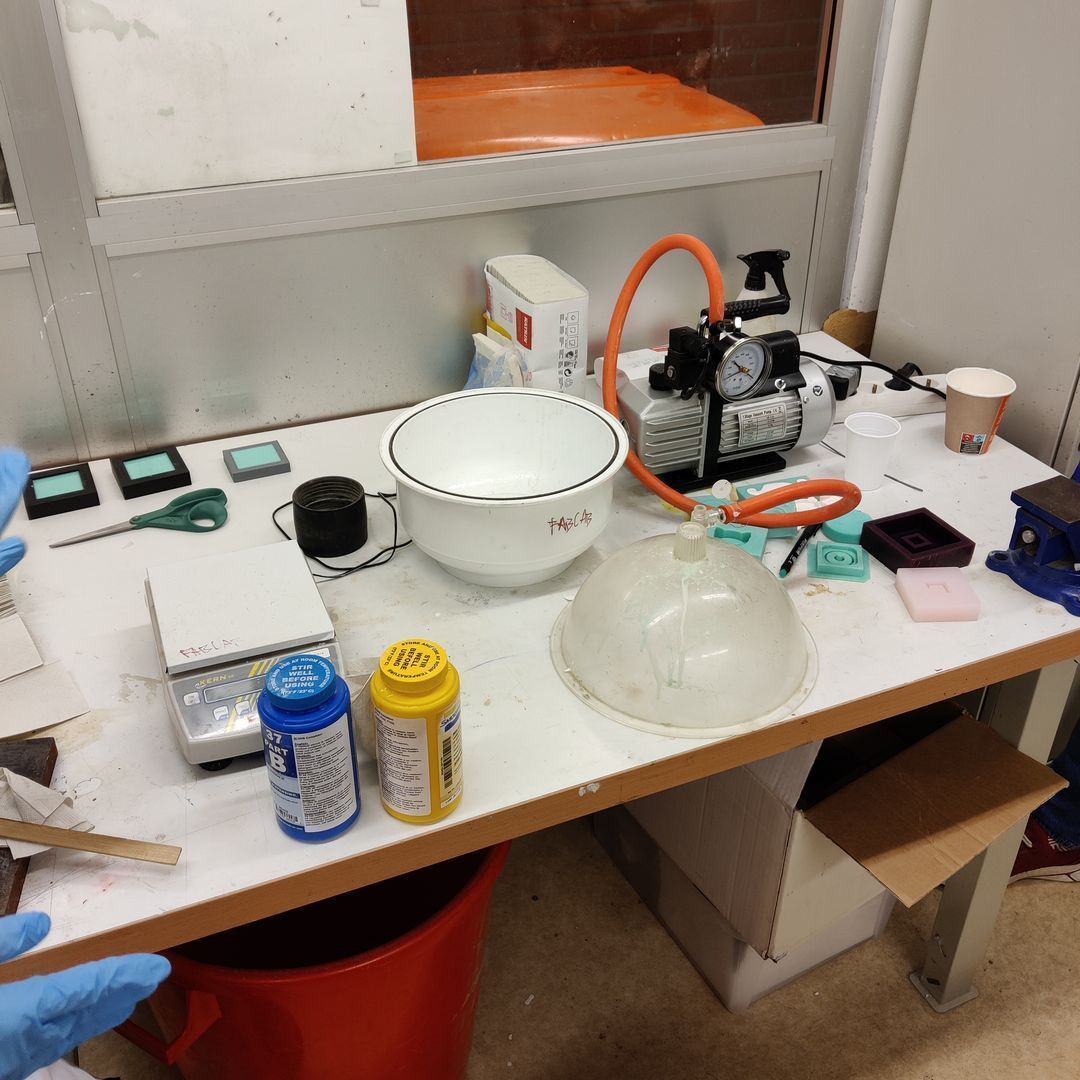
This is the main desk for mixing the materials.

Color pigments are available but are difficult to use, so it is preferred to avoid them. Only 0.1% of the mix should be pigment, and such a small amount is hard to measure. If you are to use some, dip a tiny bit of the corner of a mixing stick into the pigment.
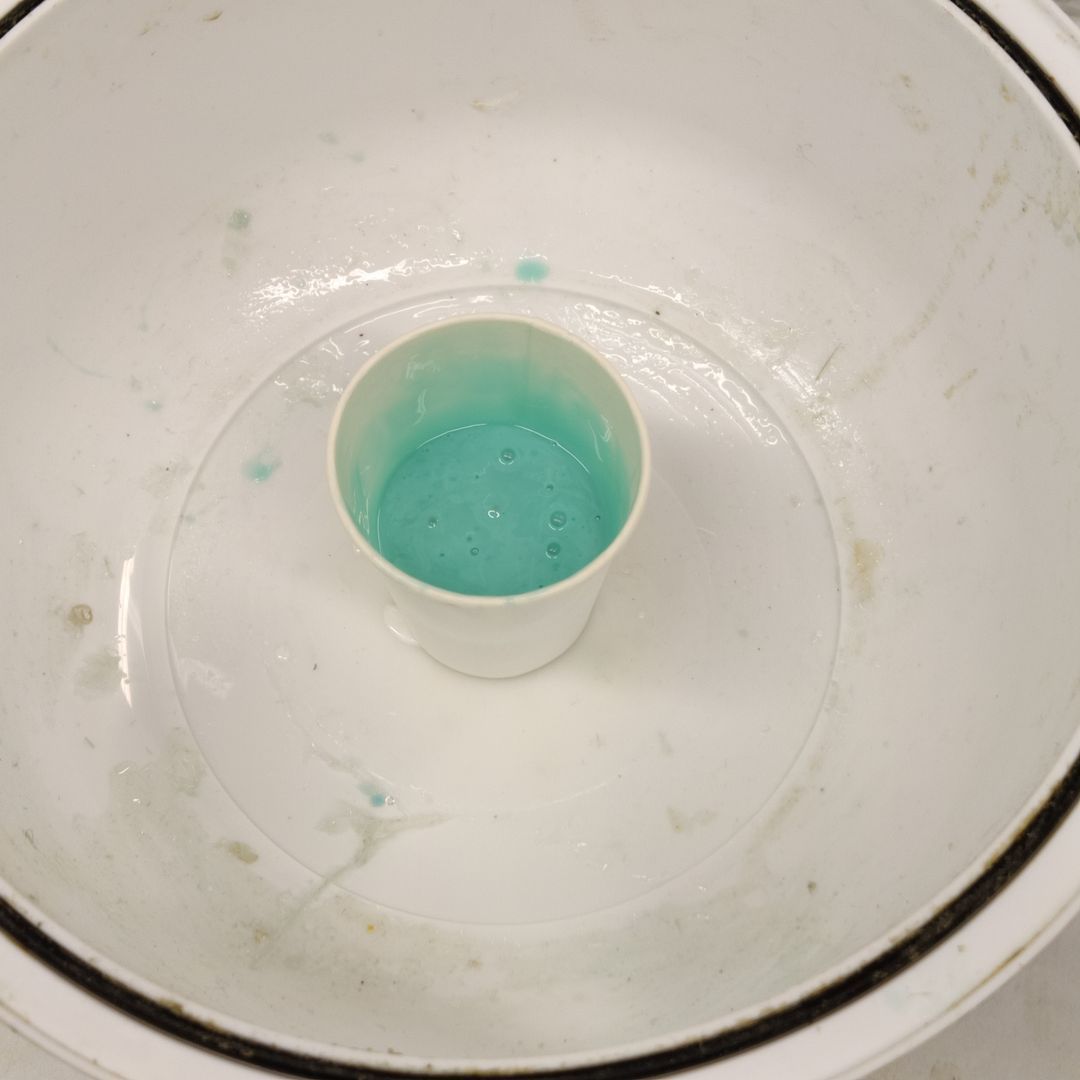
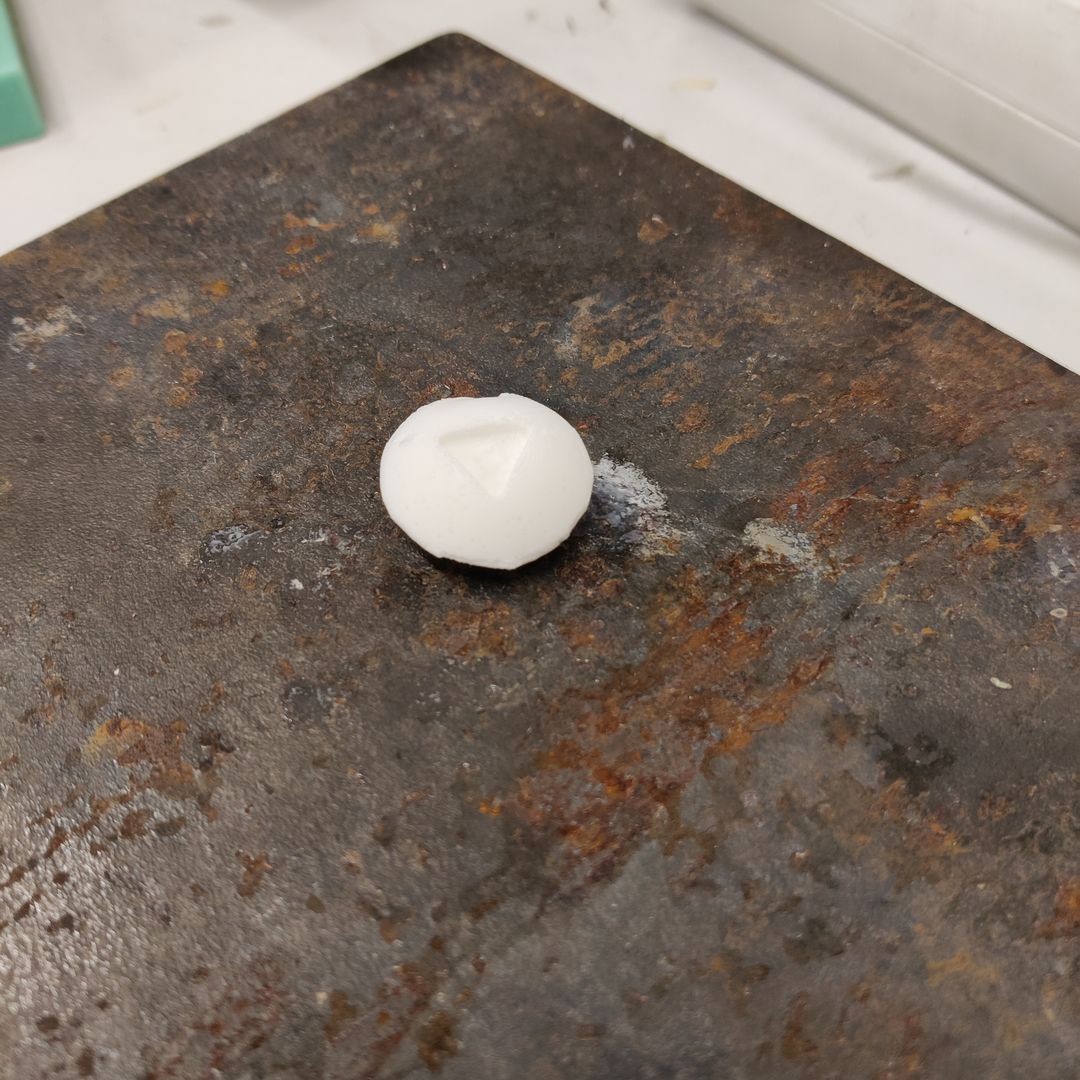
When the two parts of a material make contact, the countdown to the curing begins. That countdown is called the pot life. You should have the materials ready and set in their containers by the end of that specified time. Above is an example of what can happen if the materials make contact too soon. What likely happened is that someone used the same mixing stick for both parts, resulting in contamination, and the next person to use them got a mix that was already curing. This is why you should always throw away mixing sticks and never reuse them.
Molding
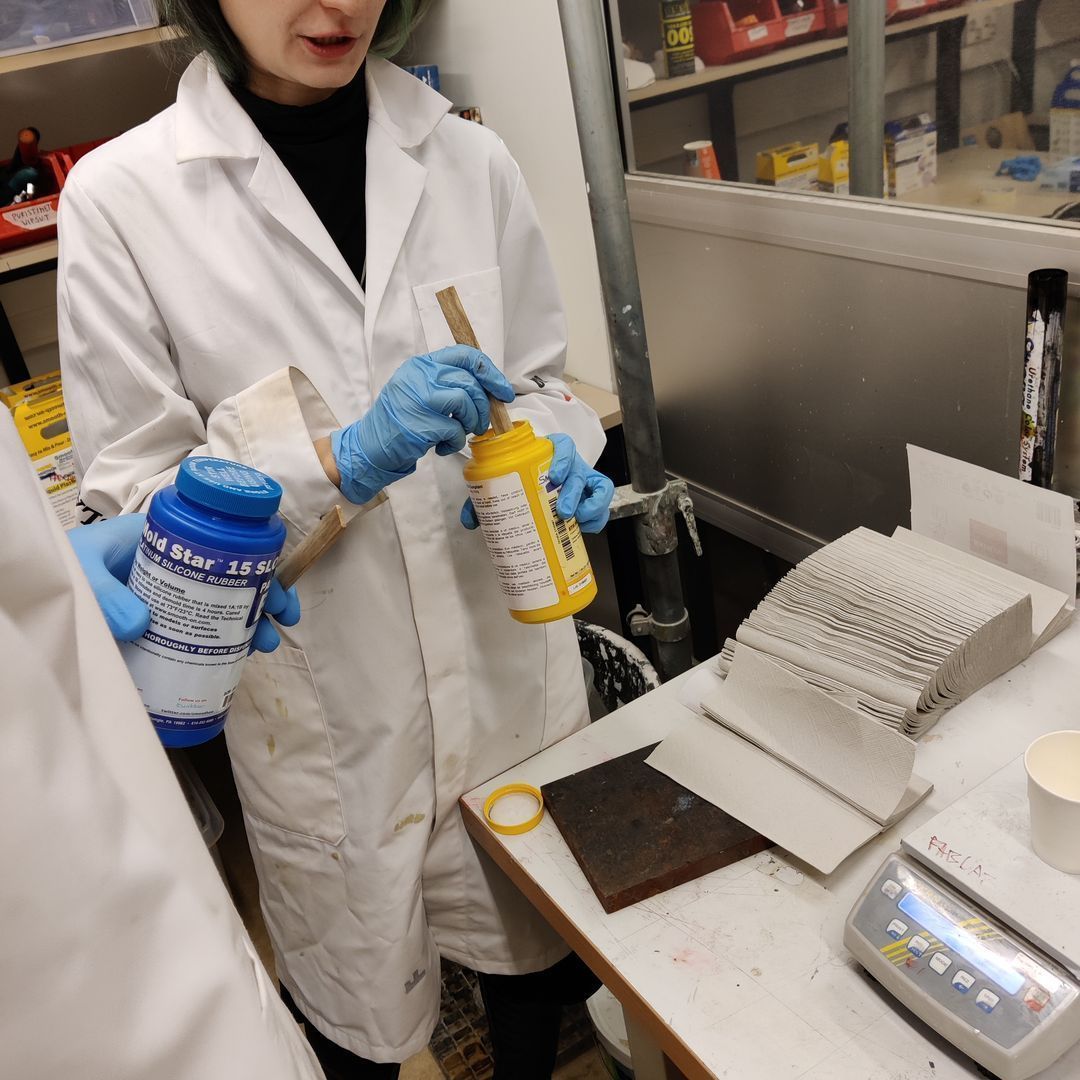
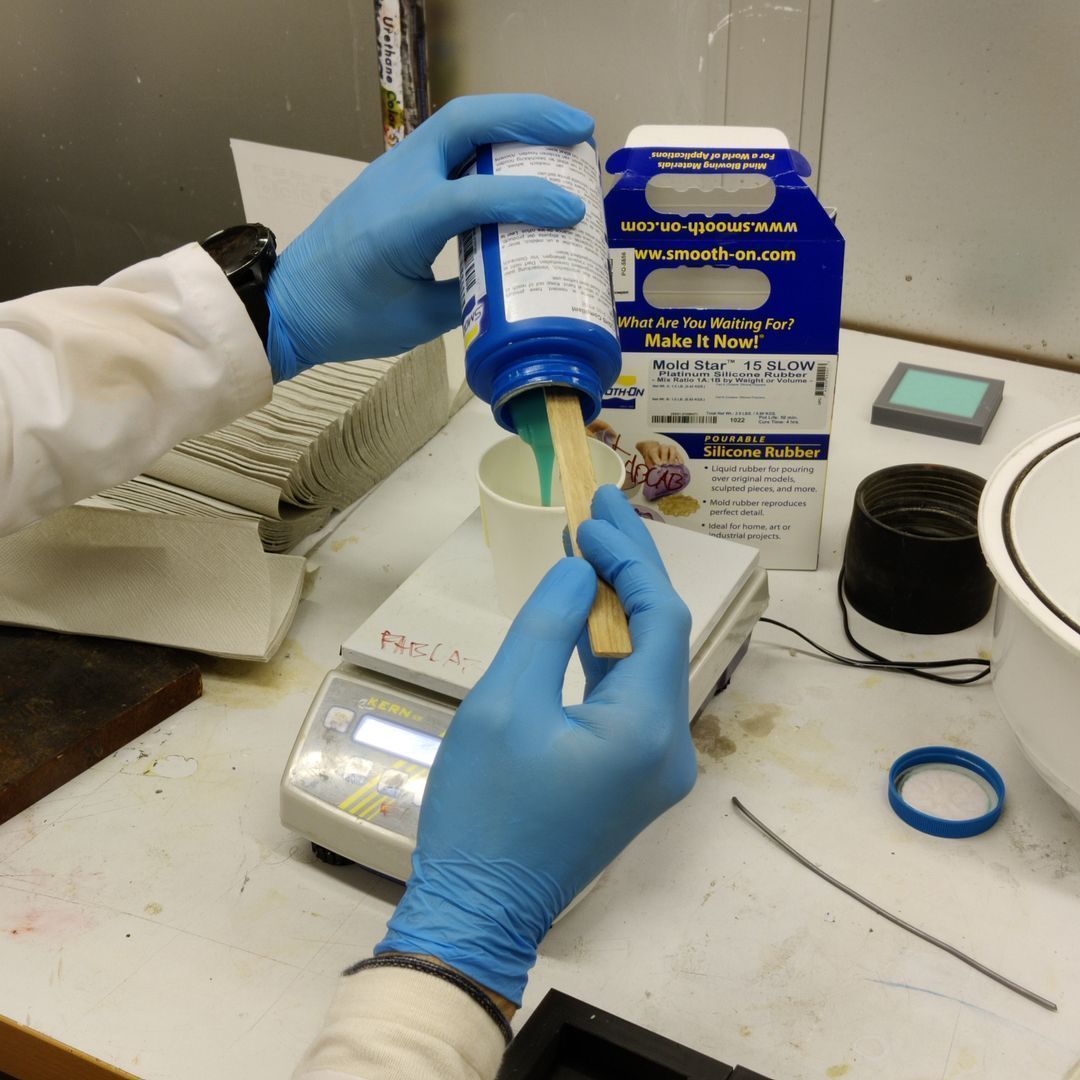
Materials are mixed by hand, first individually, then together. They are viscous so it takes many minutes of stirring to get them to run evenly. The two parts are then mixed together, measured by either weight or volume (there’s a scale on the mixing table for this) and usually with a 1 to 1 ratio.
When mixing, try to avoid vertical movements. Those can easily create air bubbles, which will later leave cavities in the mold.
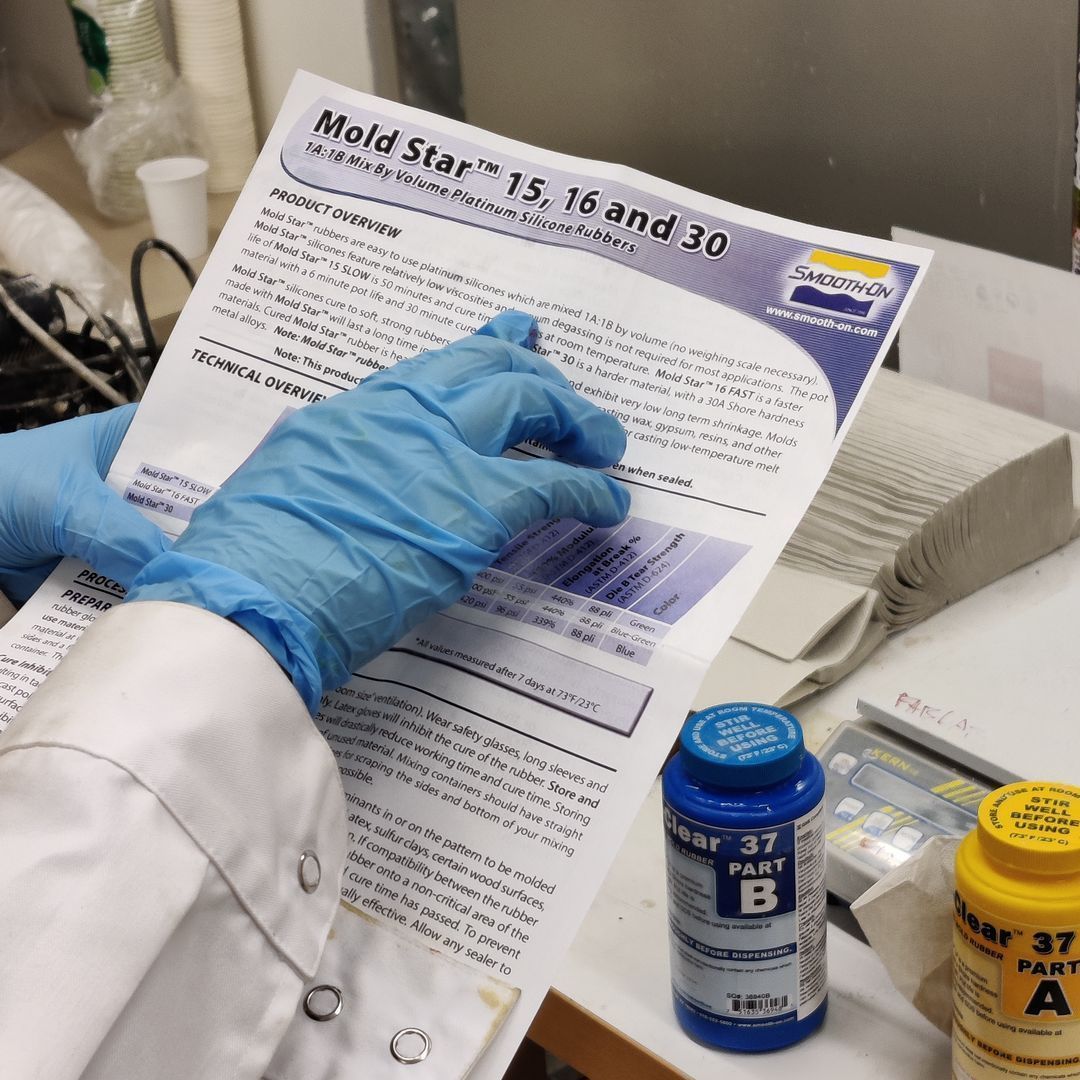
The product overview is the most important part of a datasheet. Read it carefully.
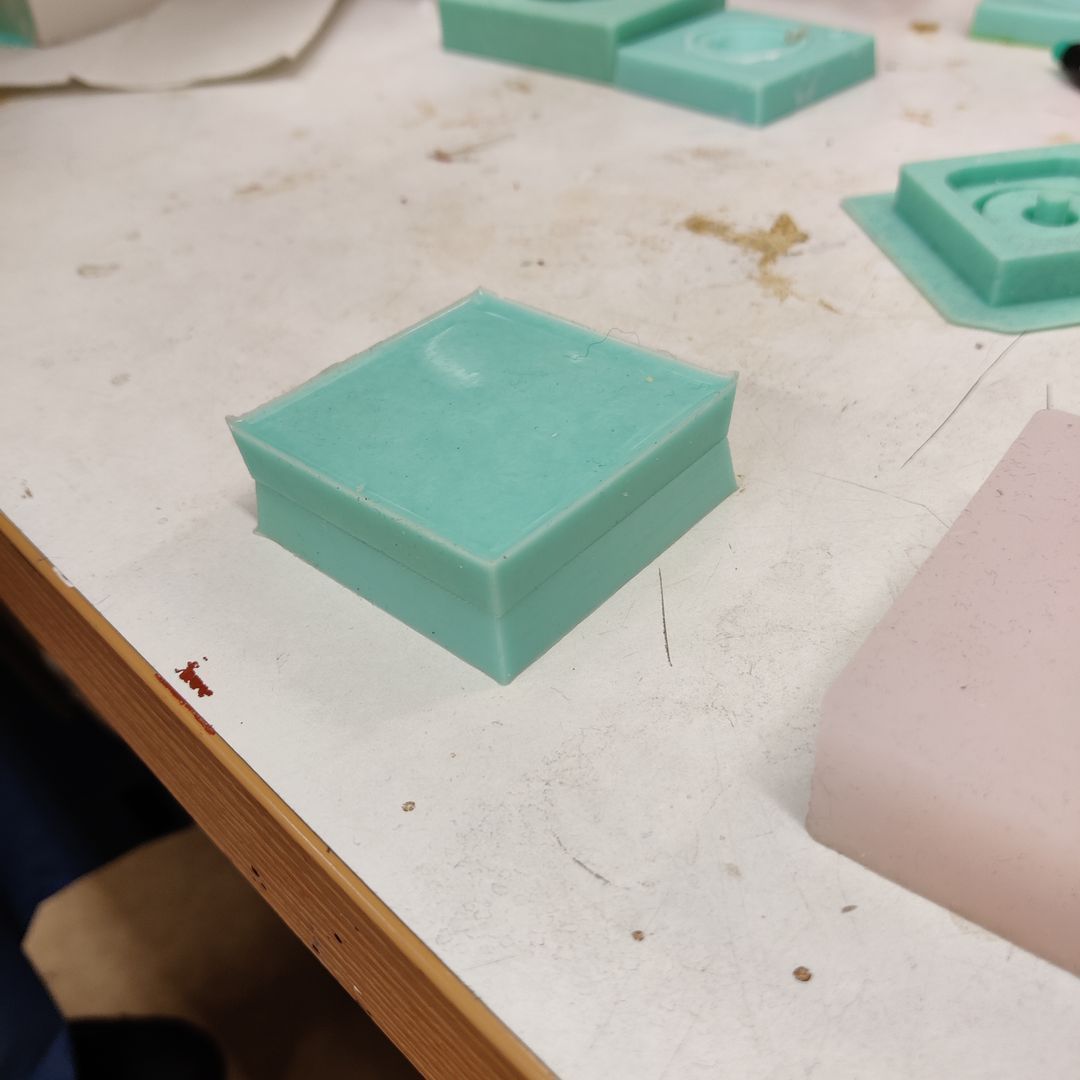
Removing the old molds from the 3D printed container.
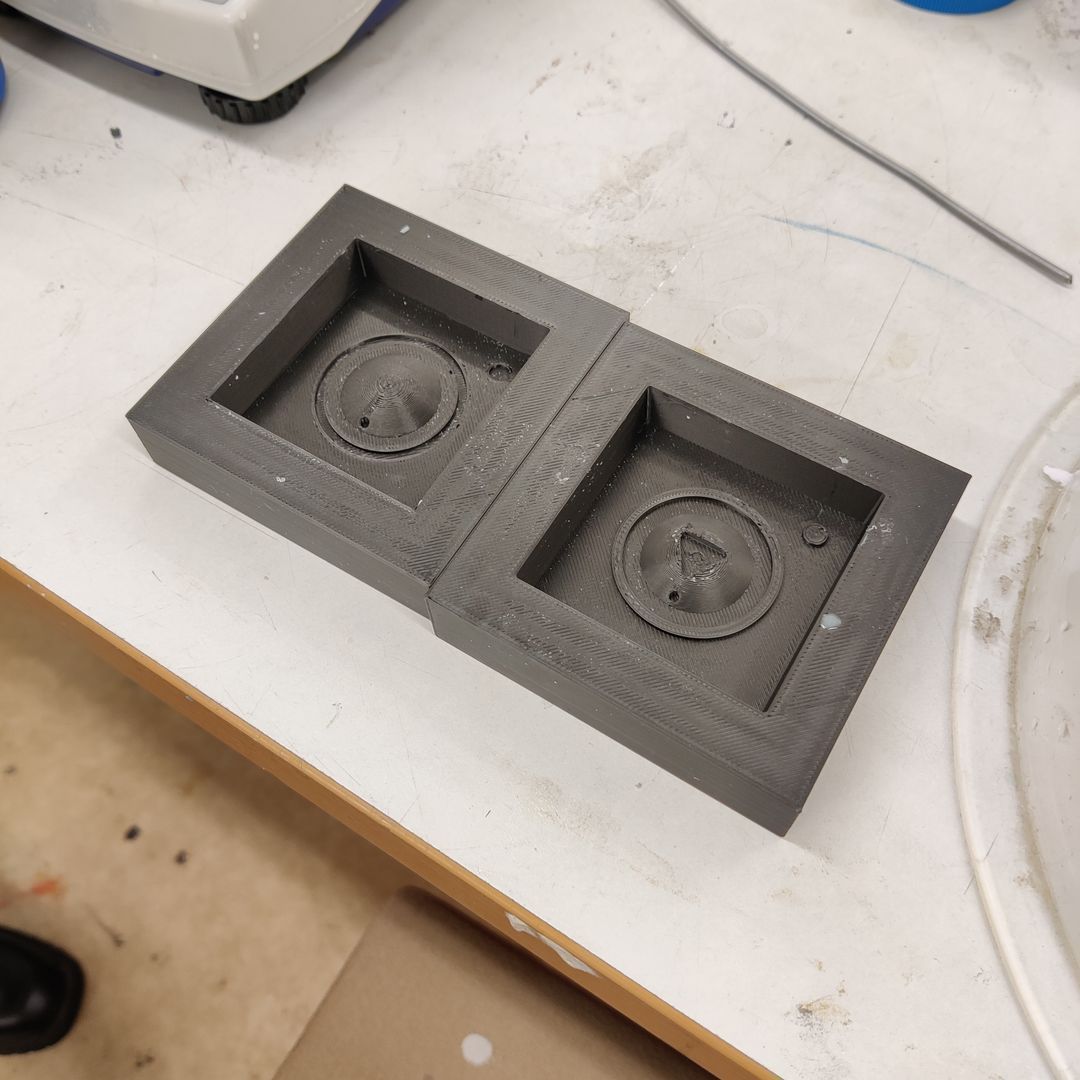
Water can be used to determine the volume of these. Your design software can also most likely calculate volumes. Try to determine the appropriate amount of material that your mold will need.
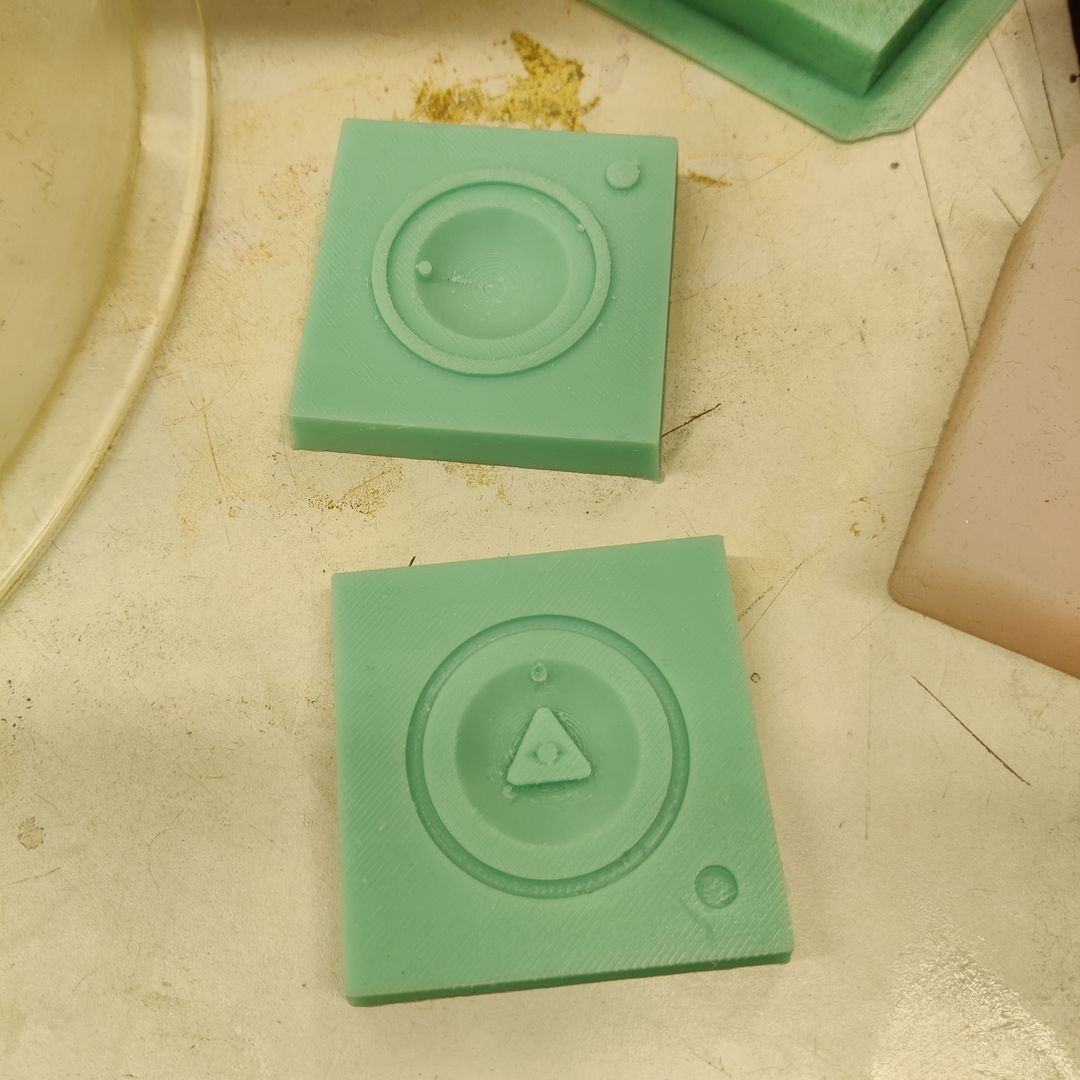
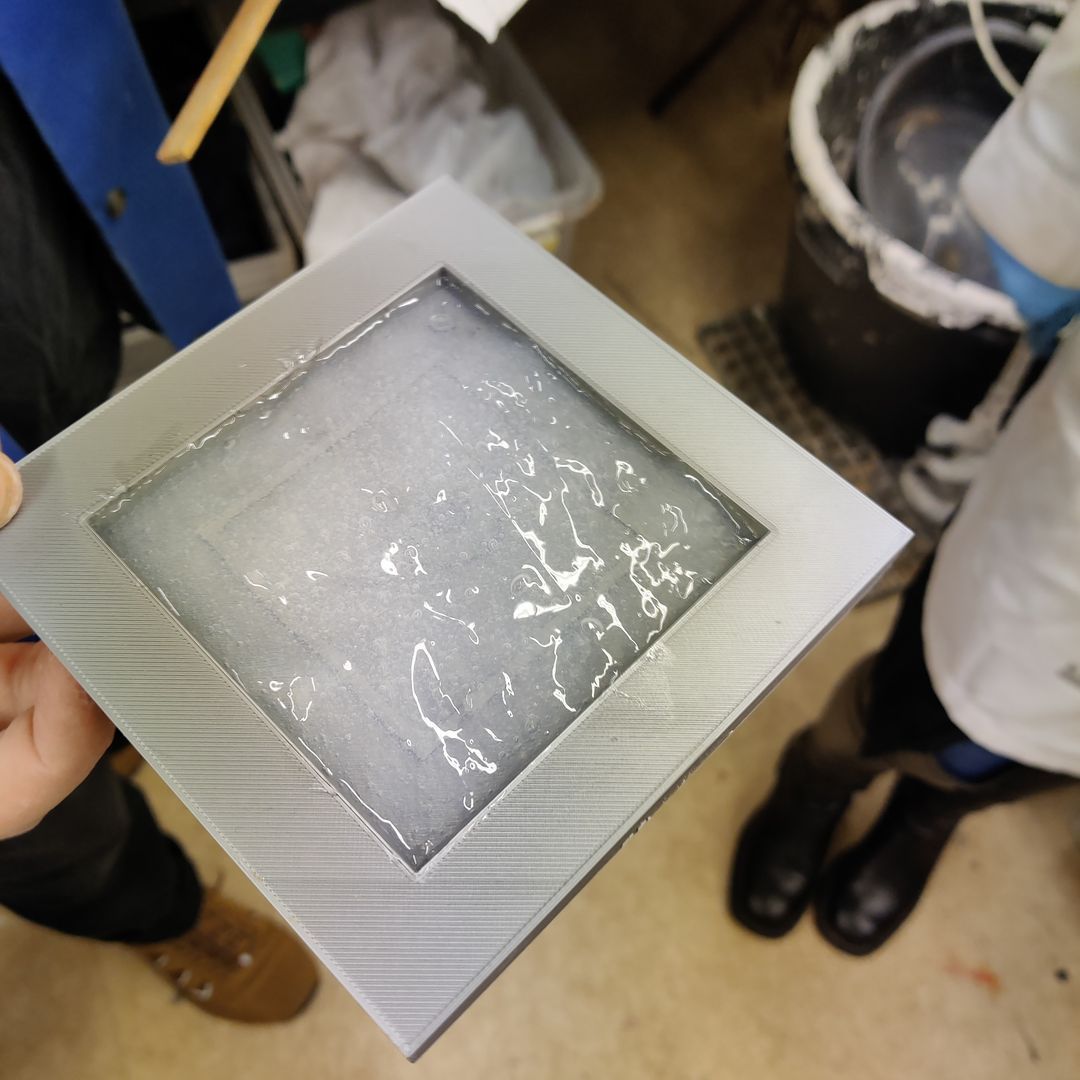
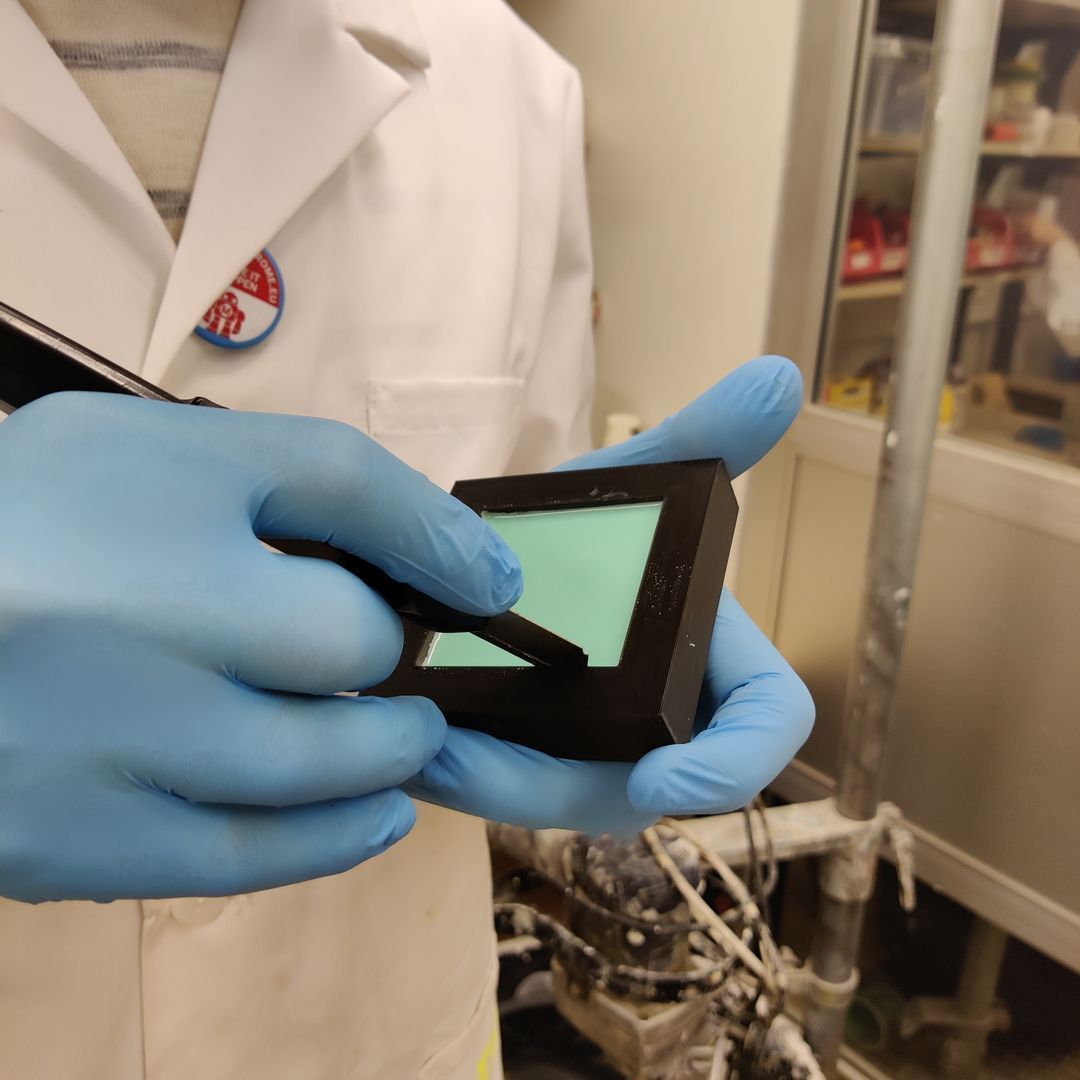
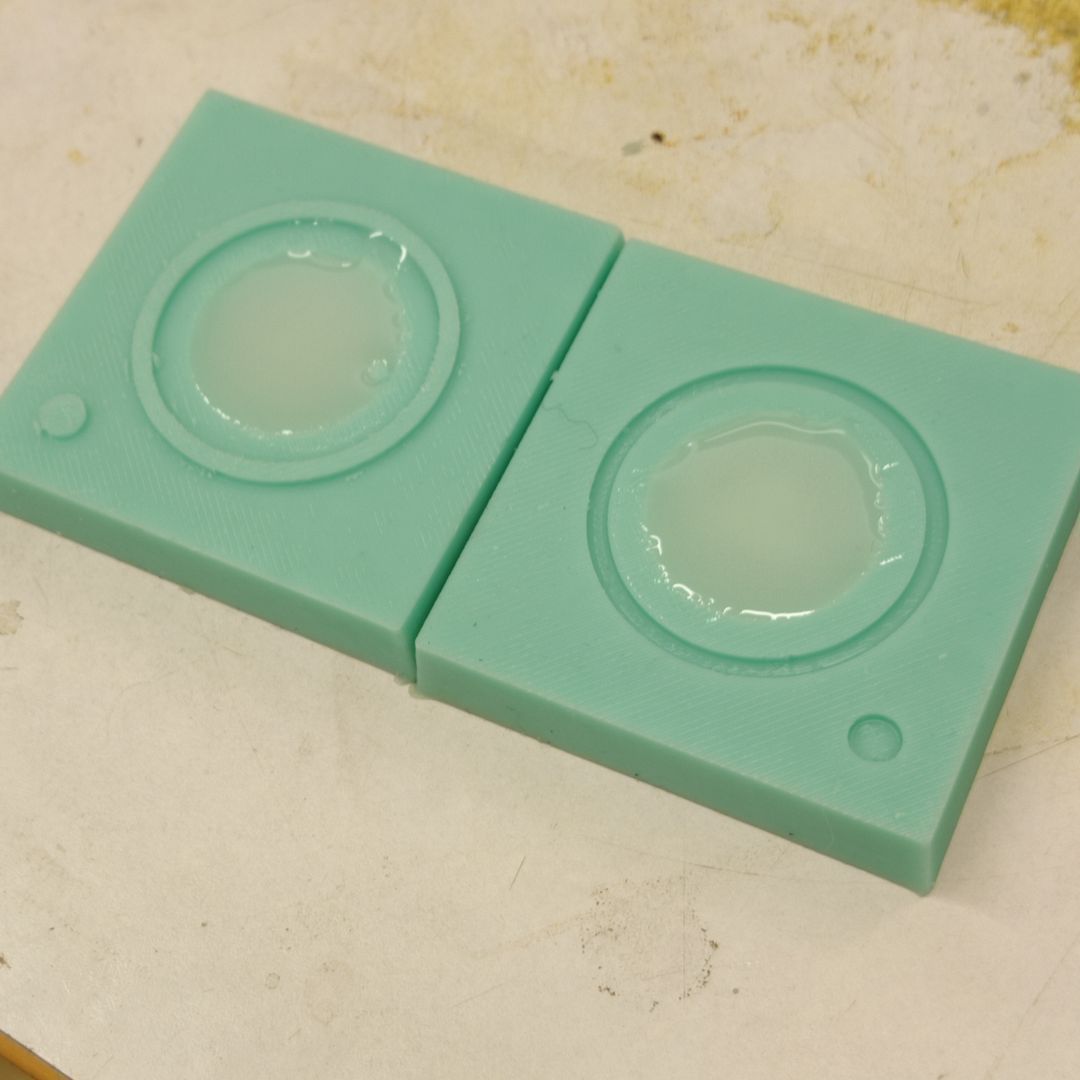
Example molds from the previous introduction session. The curing time of the molds for this material was 4 hours, so these were to be used for the actual casting demonstration.

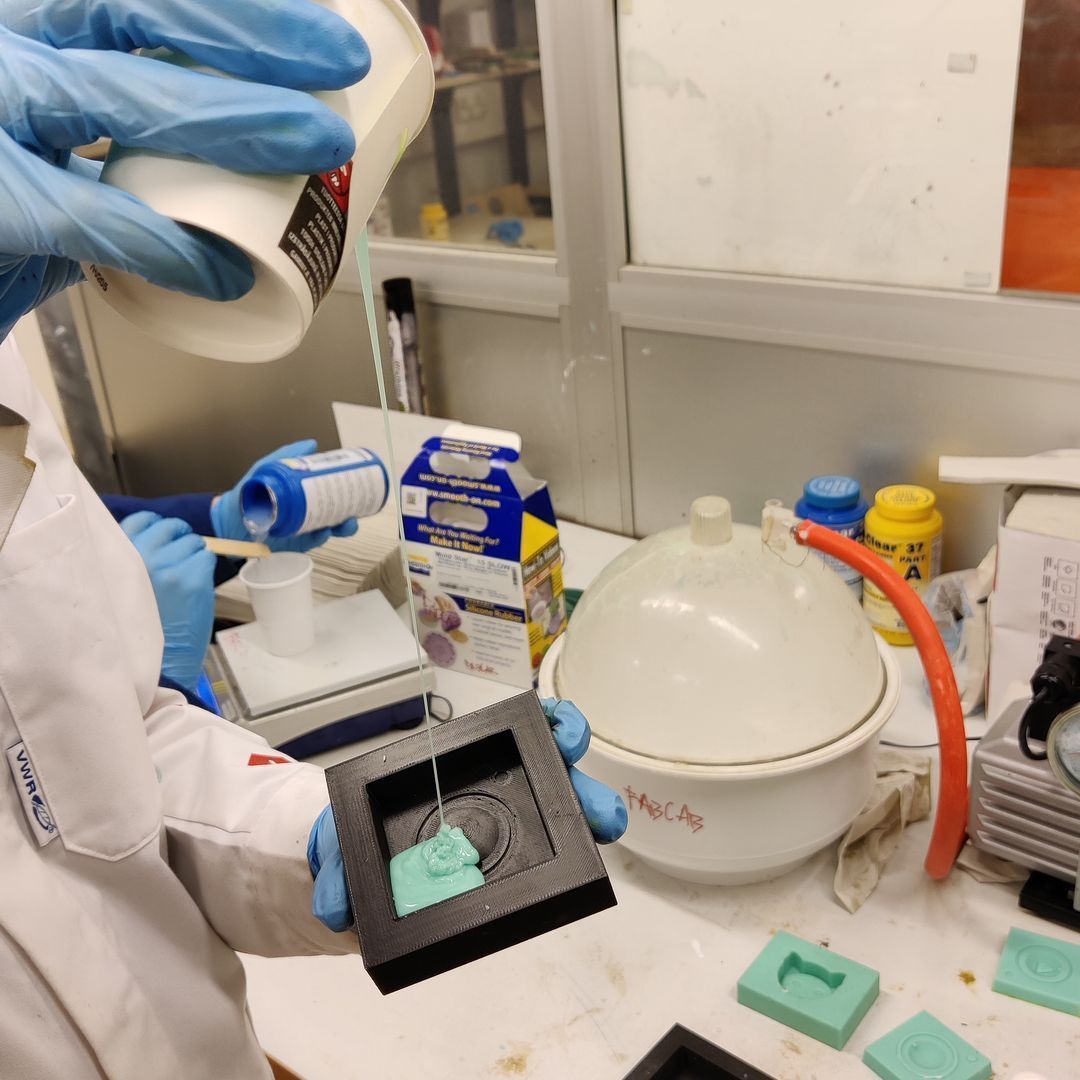
Pouring the first part into the mixing cup and measuring its weight. Take note of how much you poured so you can match the second pour.
Part B being poured.

A bit over 90 grams was a good amount for these molds.
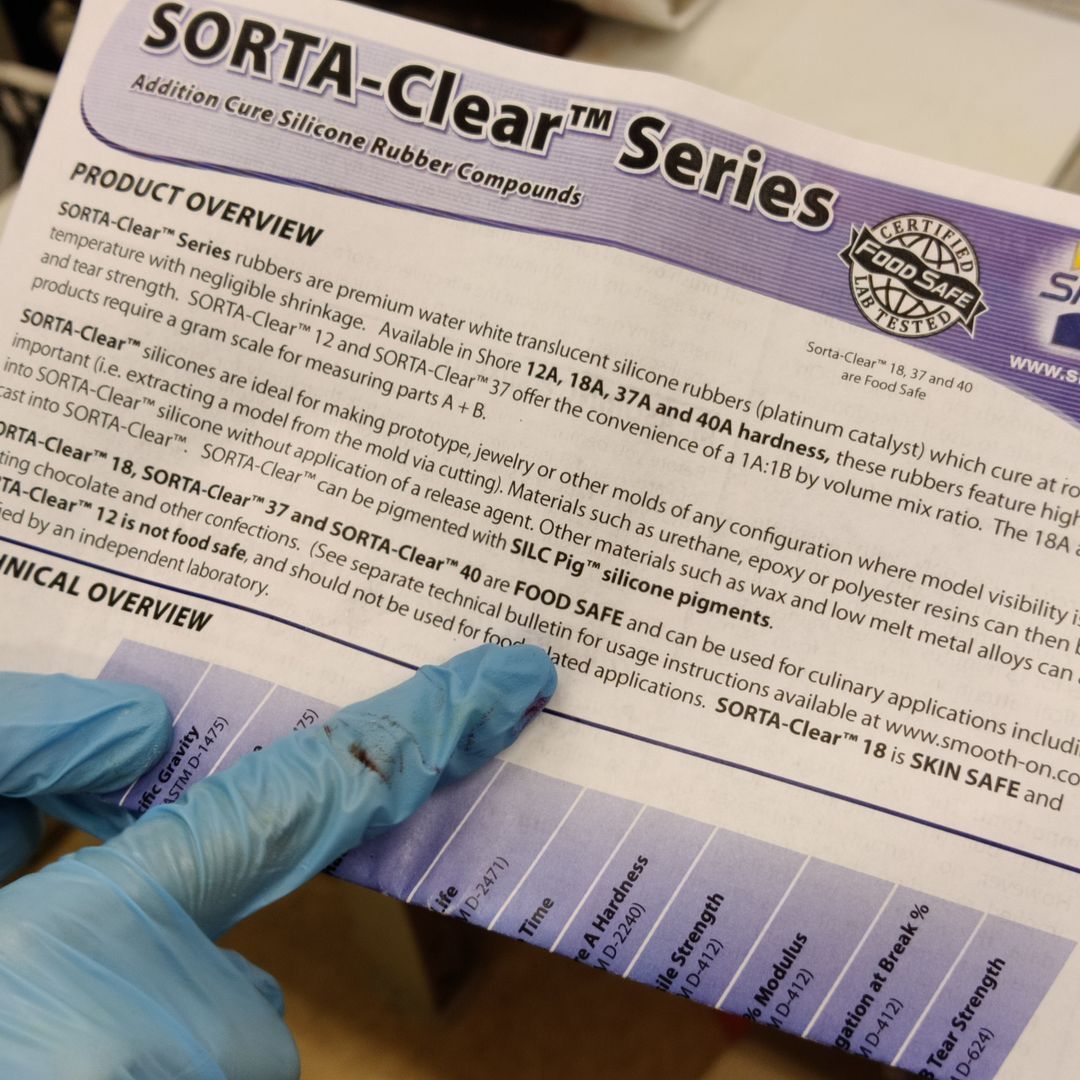
A snippet from the overview of the SORTA-Clear series rubbers. Some of these are foods safe, as mentioned before. Mind the numbers.
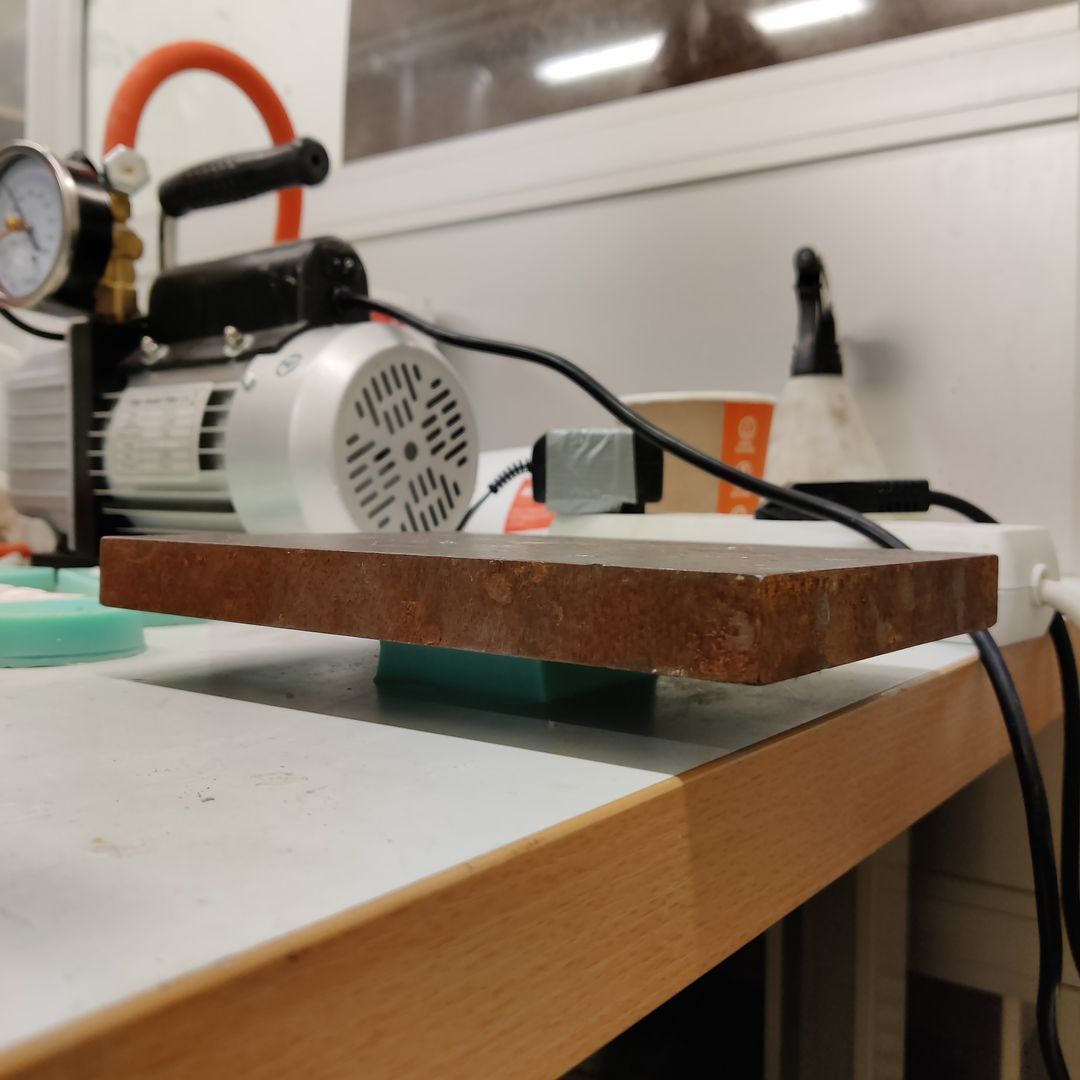
Despite best efforts, some air bubbles got trapped in the mix. The stage vacuum pump on the table can be used to get them out.

Close the lid to seal the chamber.
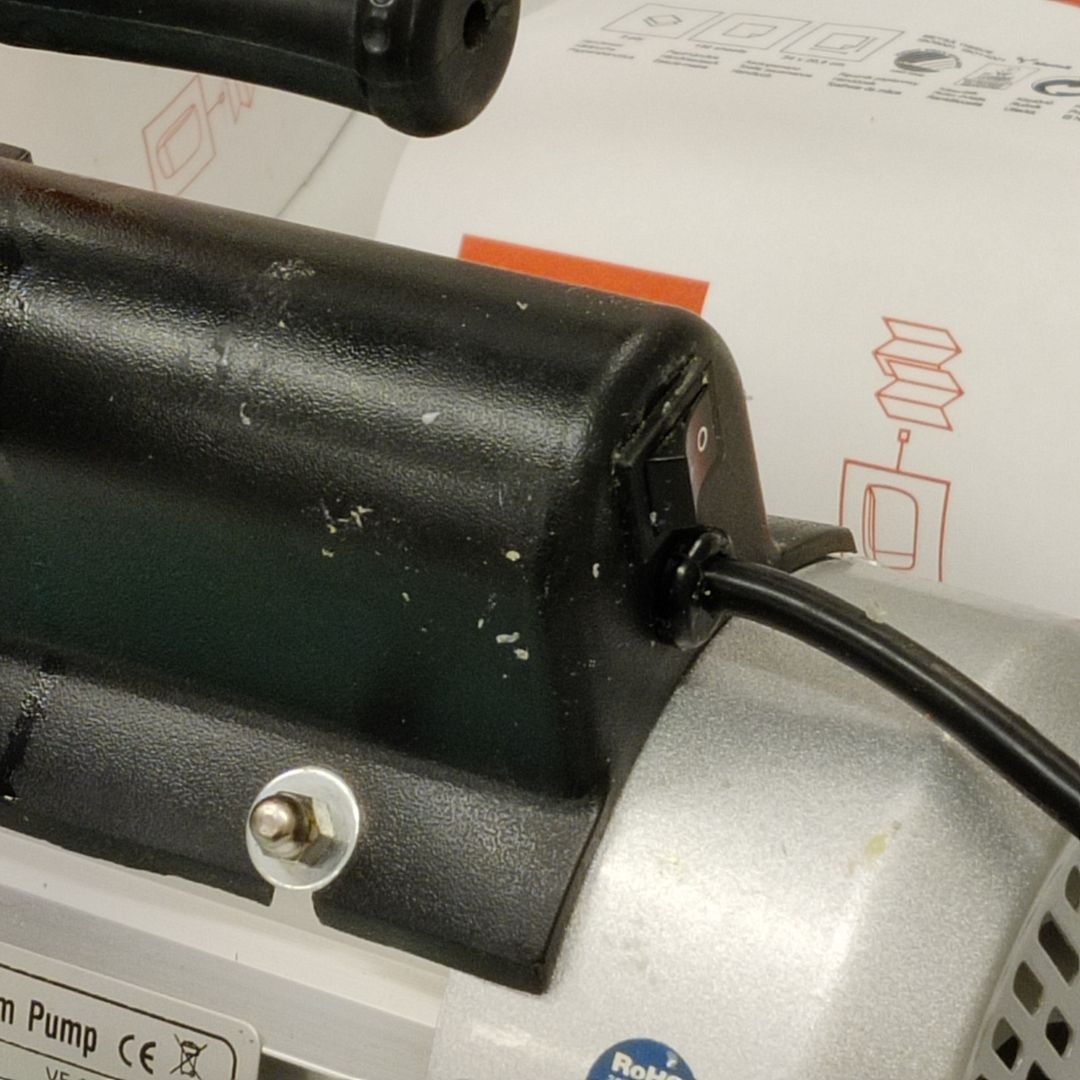
The power switch is slightly out of the way on the far side.
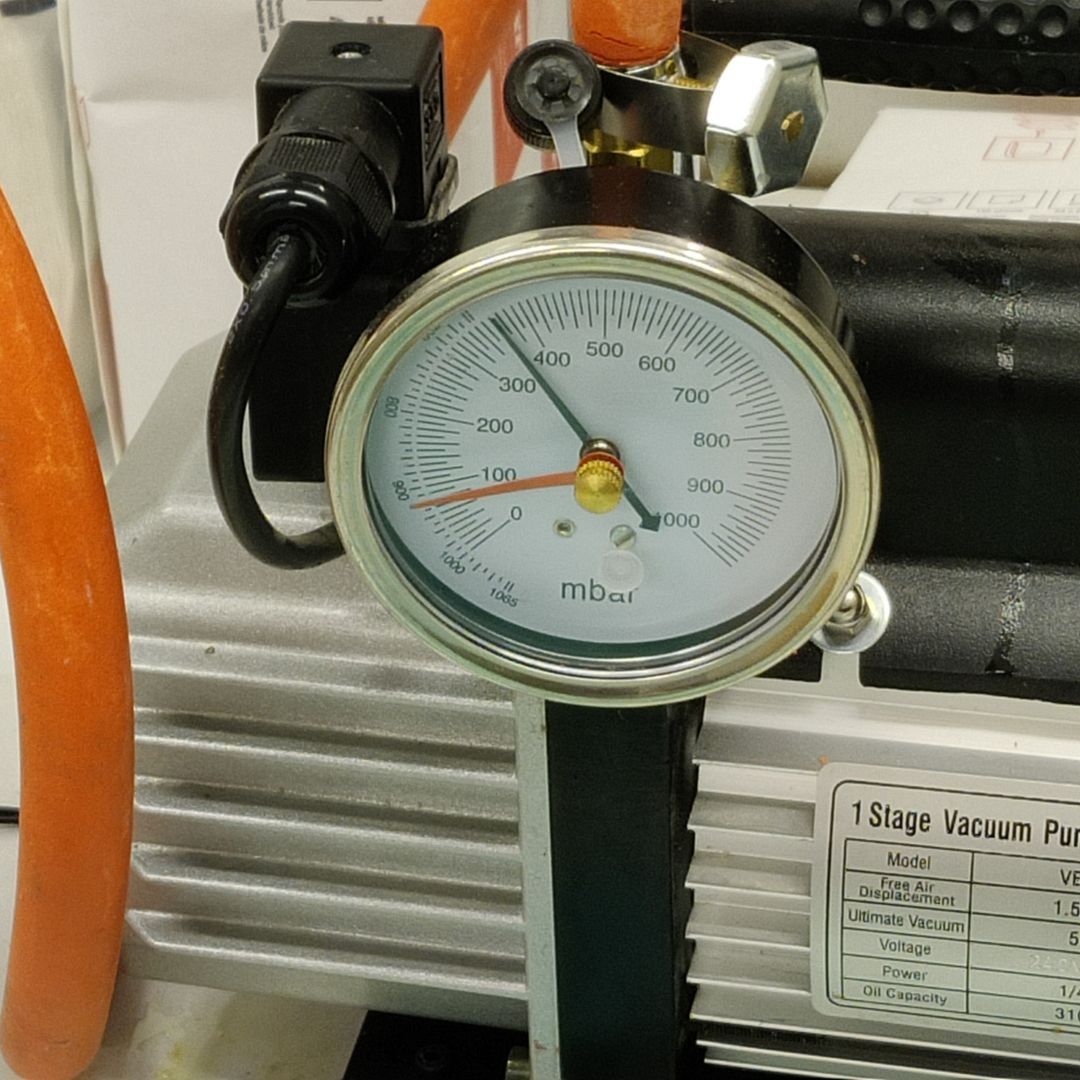
A good target for pressure is 400mbar. When reaching this, open the valve to relieve pressure and then close to increase it again. Repeat several times. The change in pressure in the chamber will slowly cause the bubbles to rise up and out.
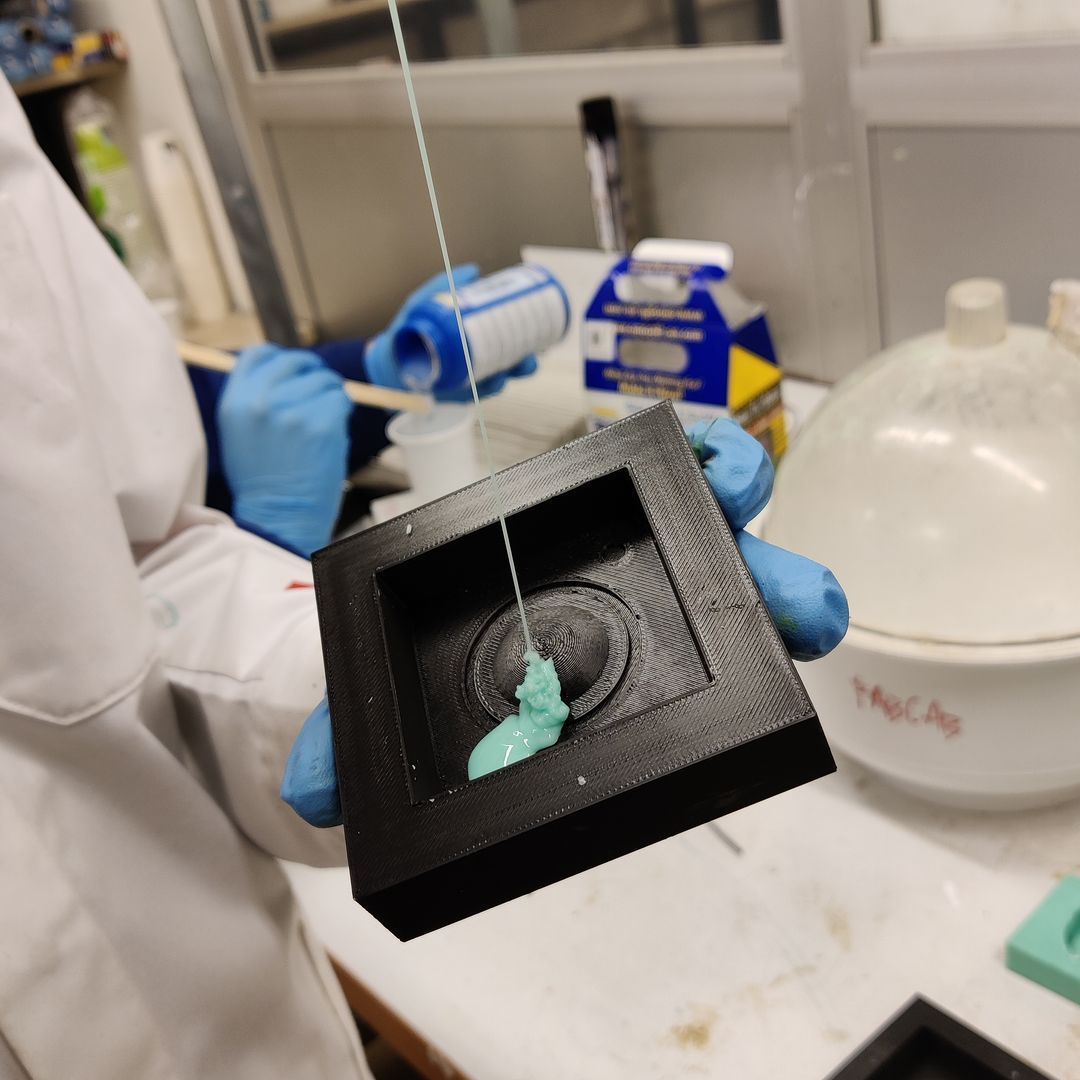
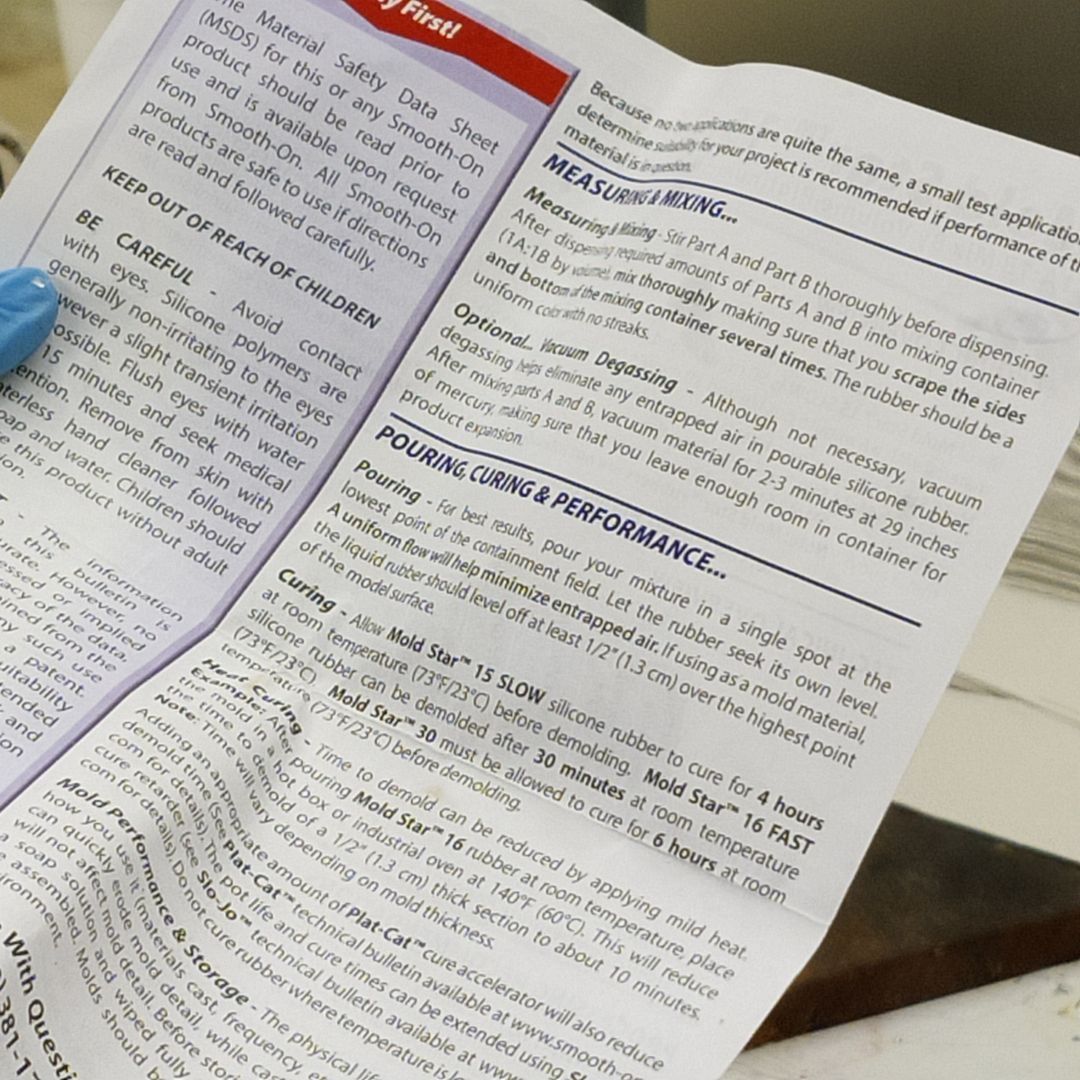
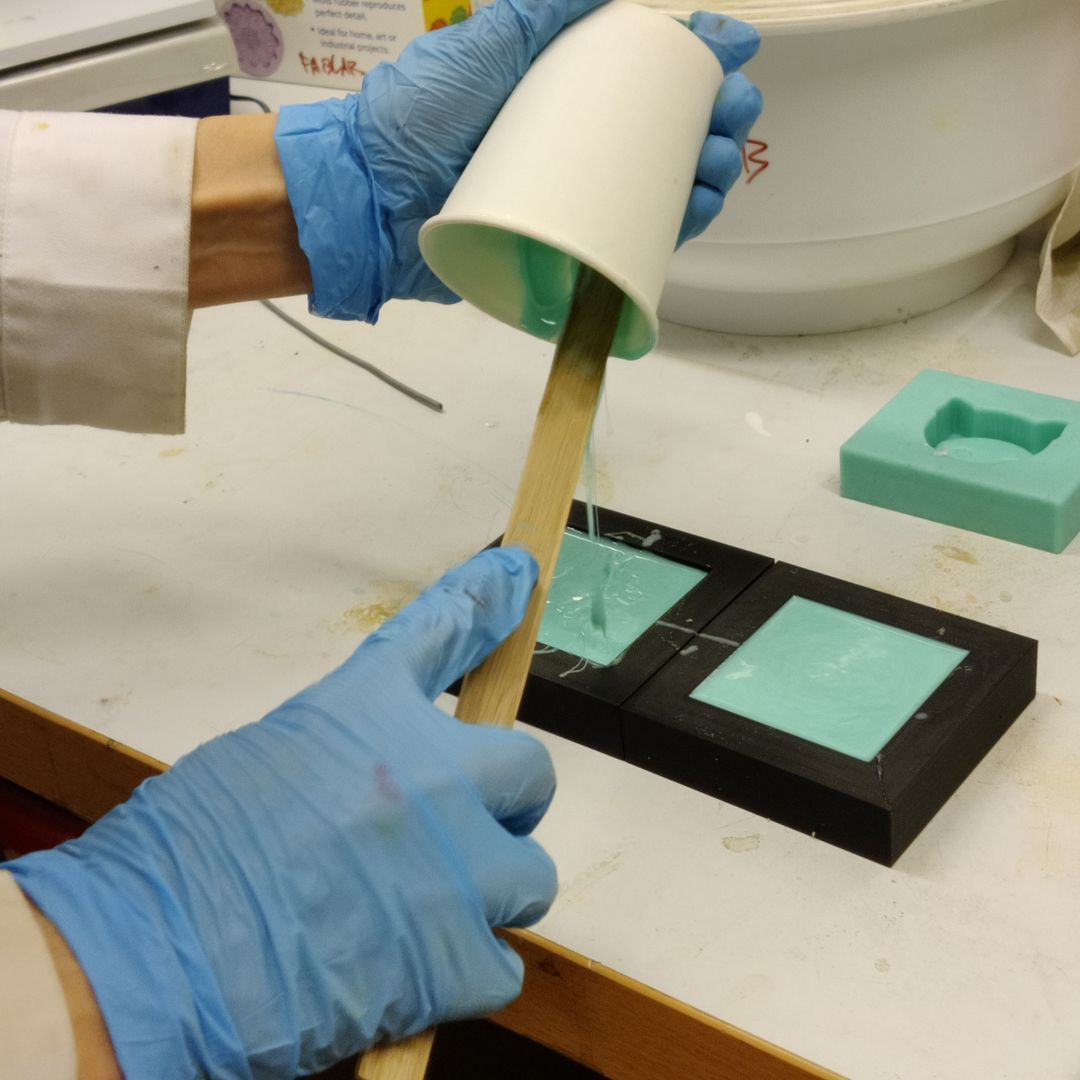
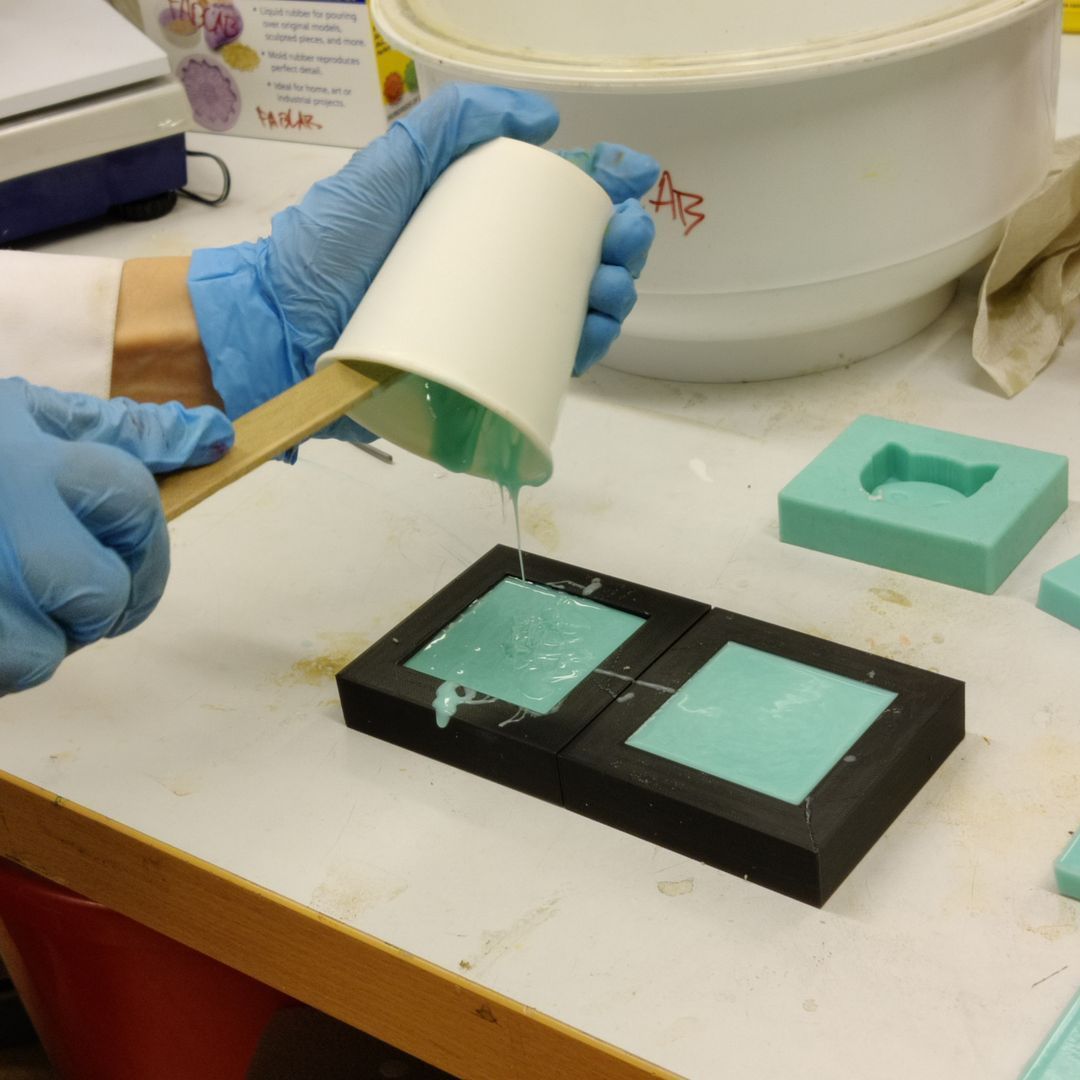
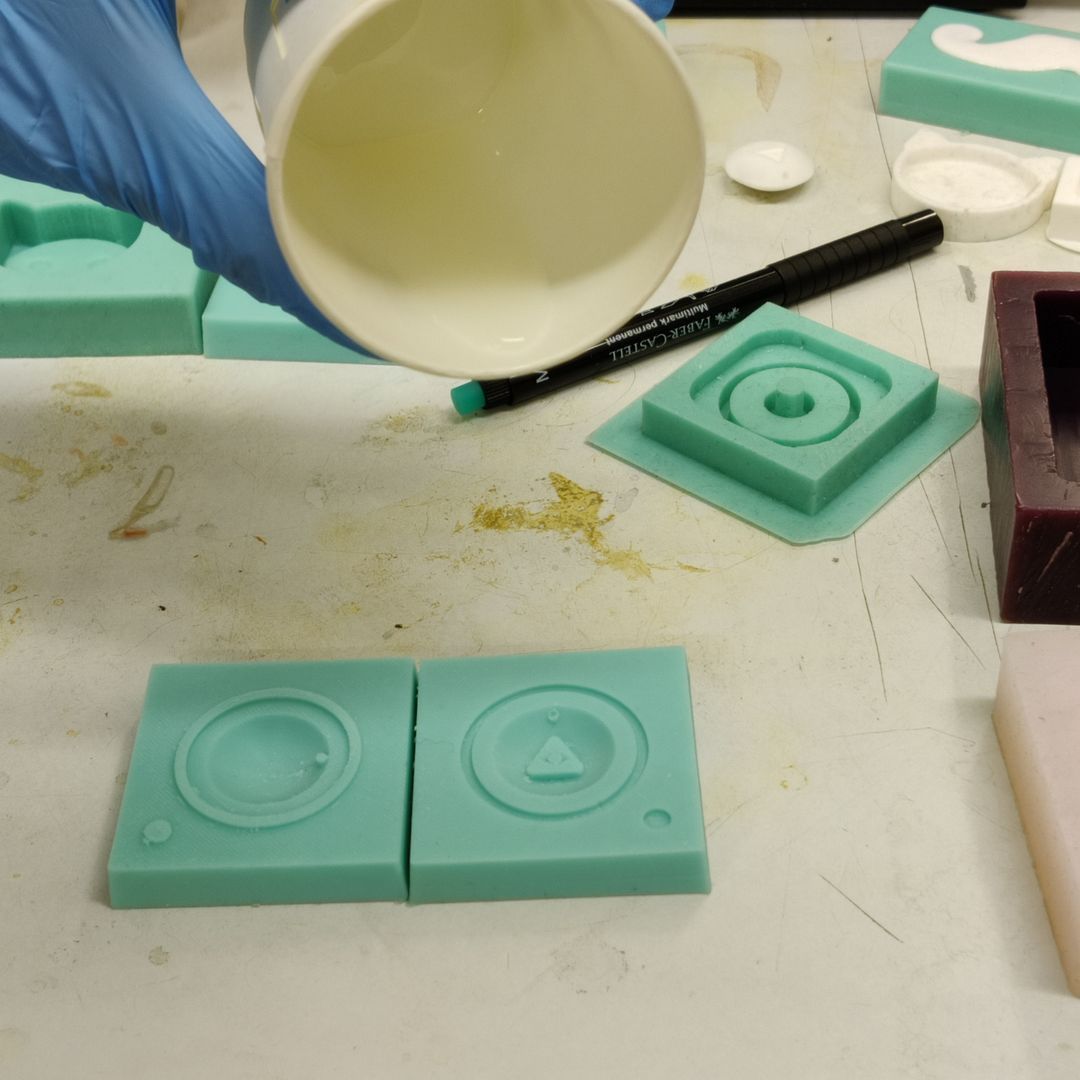
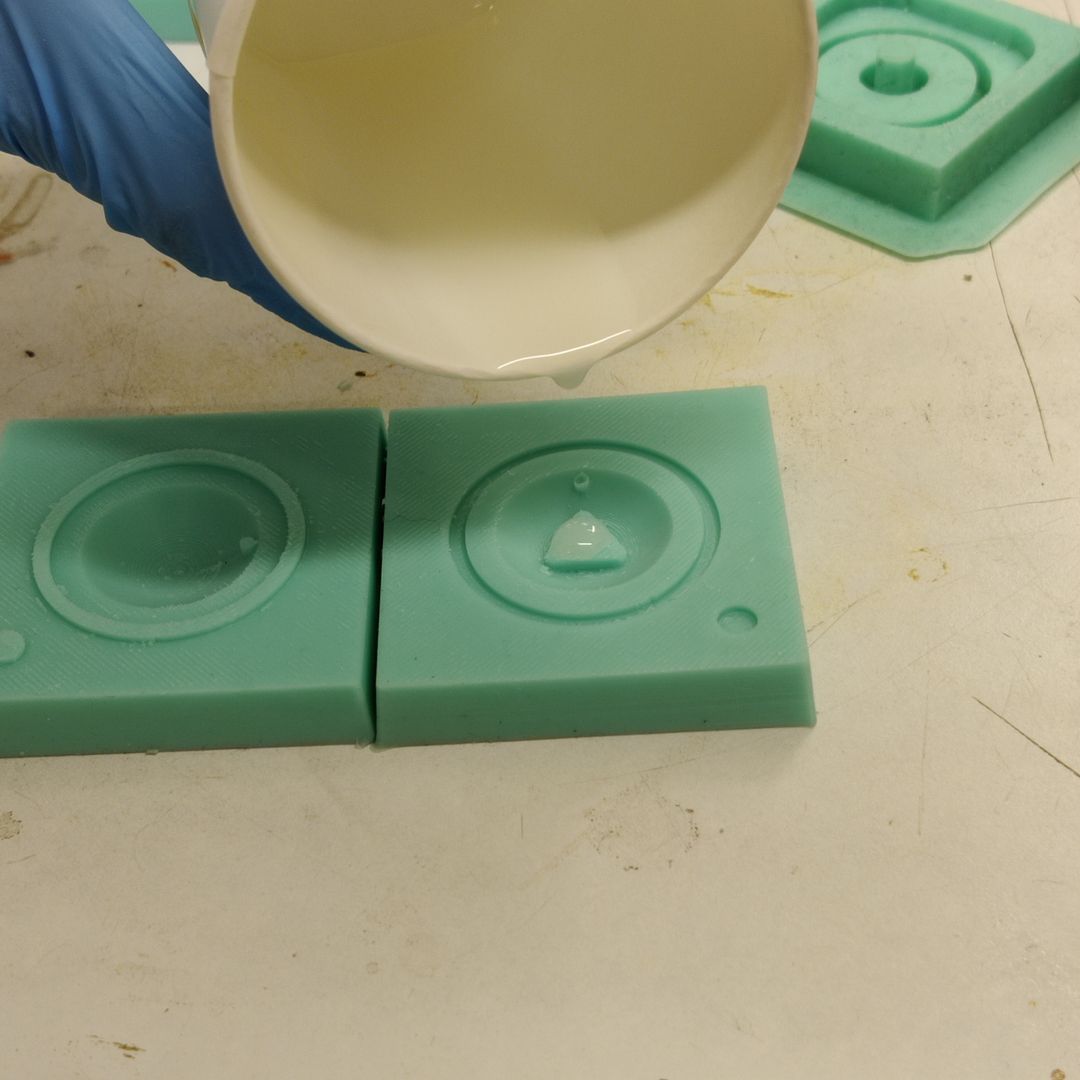
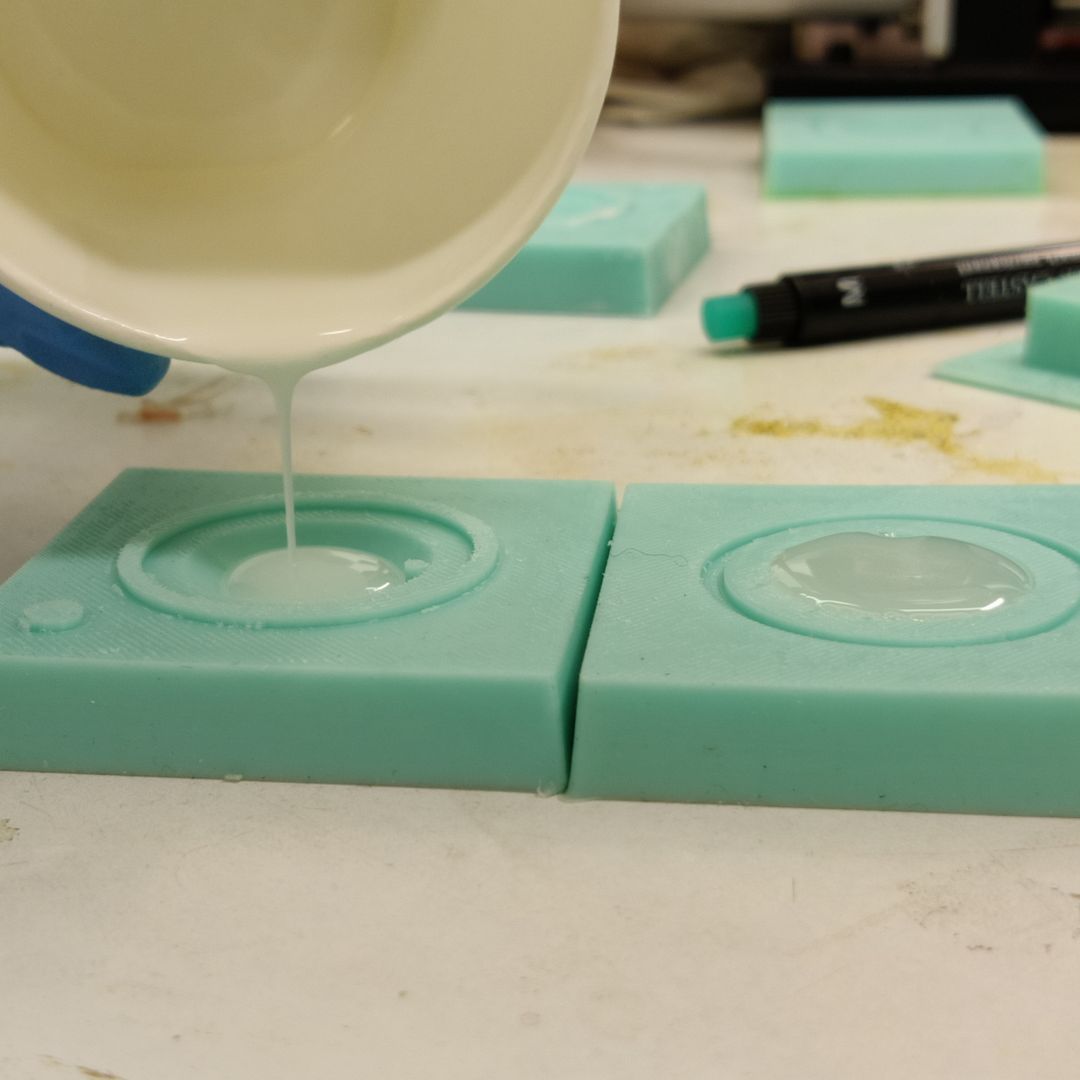
When starting the pour, try to make the strand as thin as possible. Start from one of the corners, with the container tilted. Pour first to the lowest point and guide the strand so that it falls nicely and fills any gaps, avoiding air bubbles.
Casting
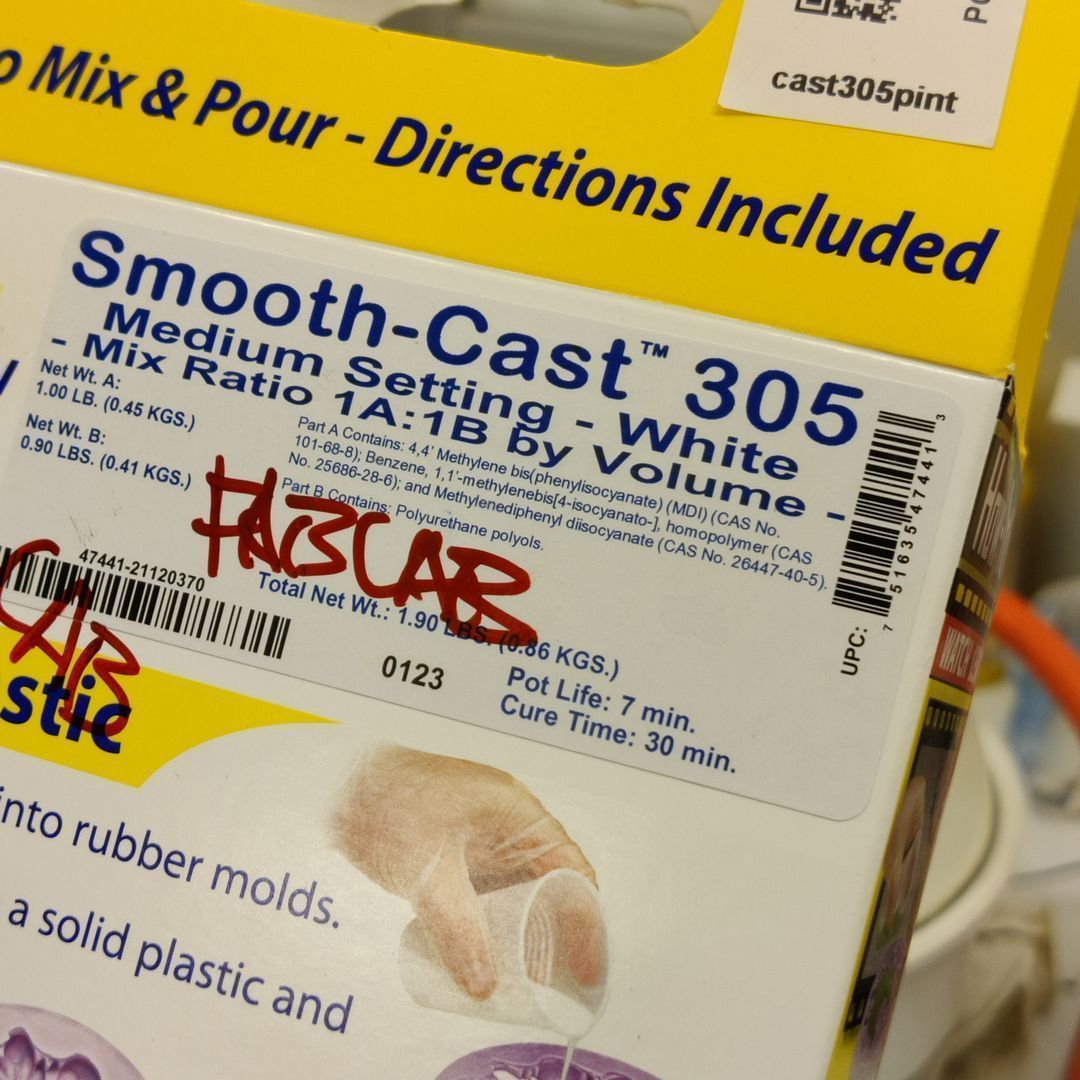
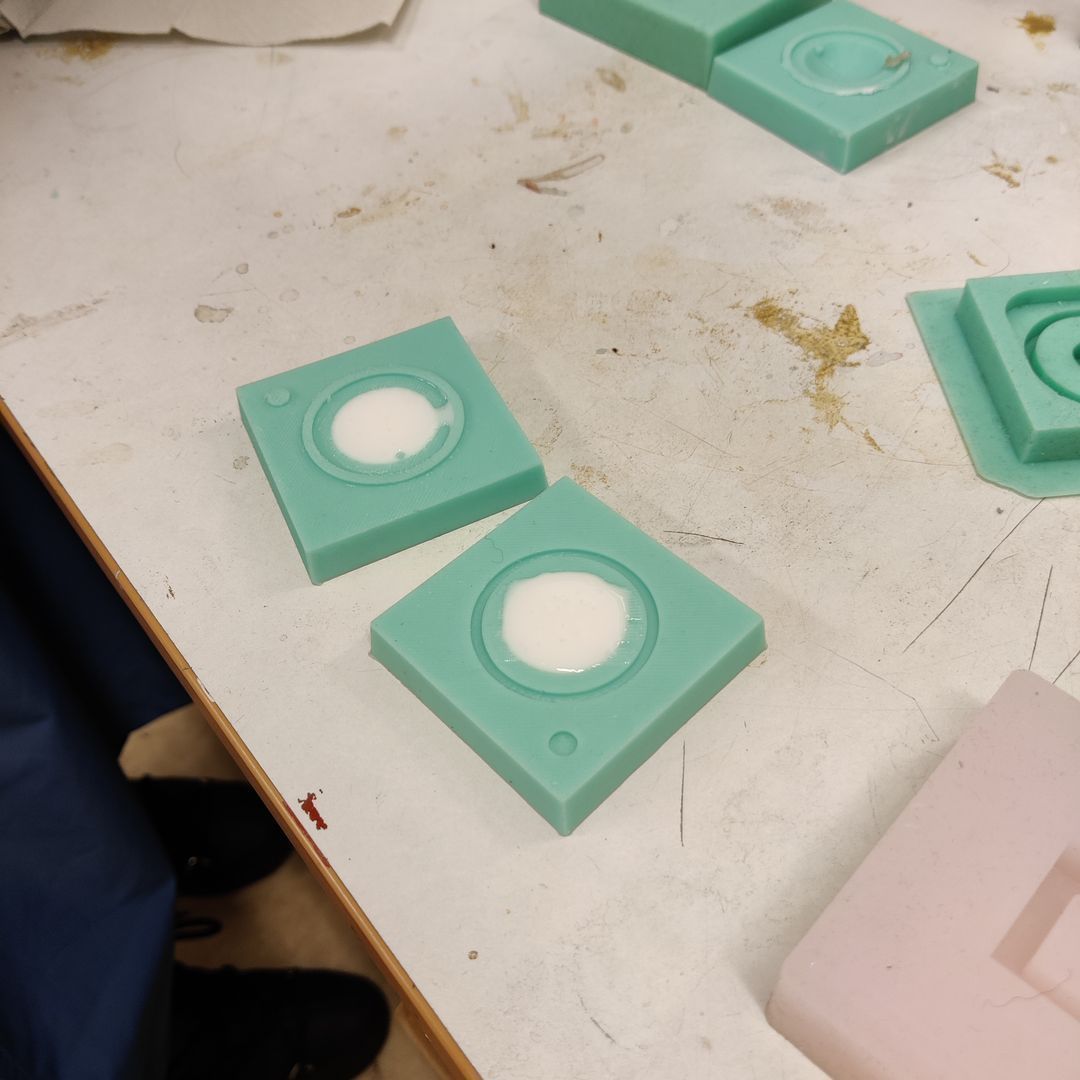
For the final casting, a different material is used. This one has a much faster pot life and cure time, so you shouldn’t take too long in pouring it.
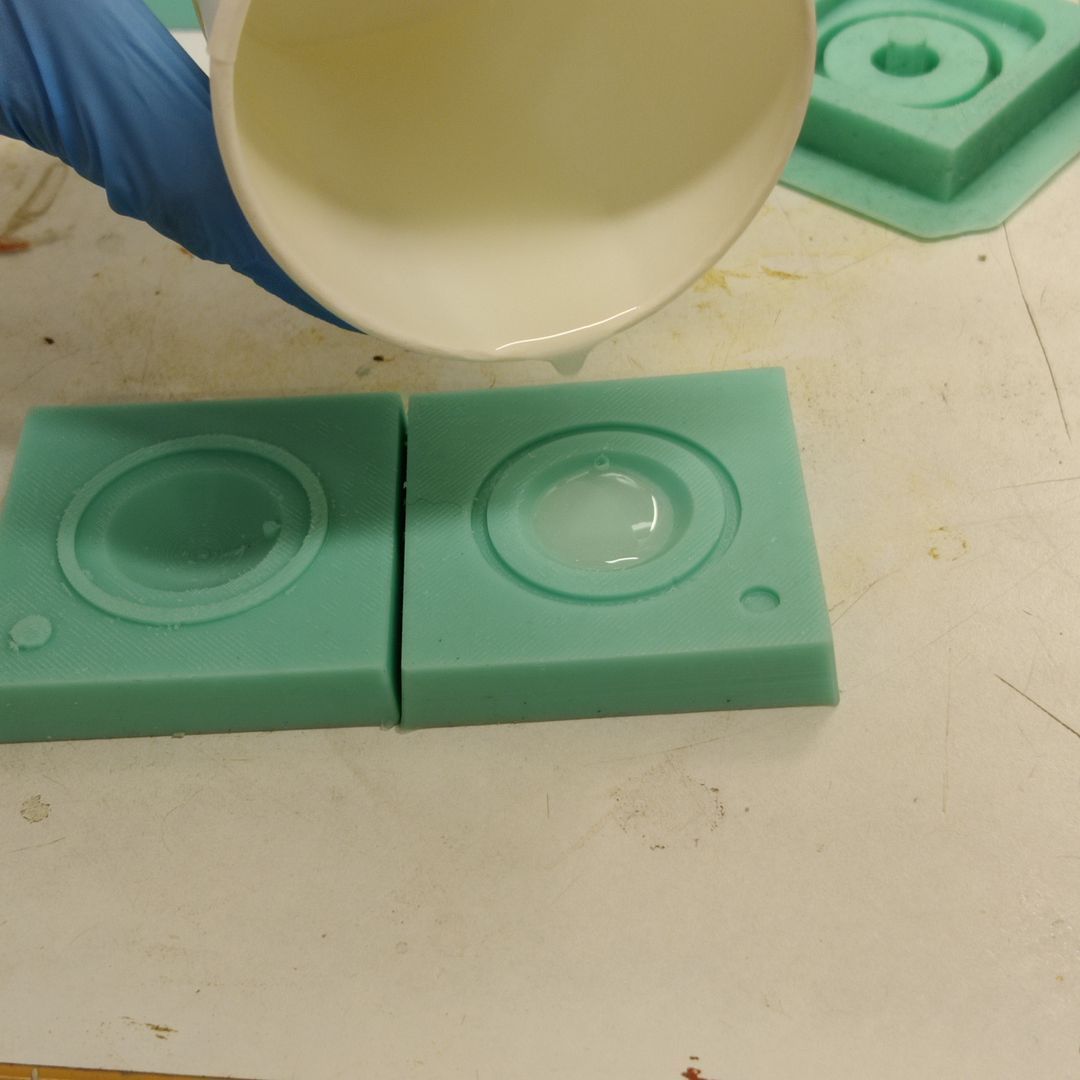
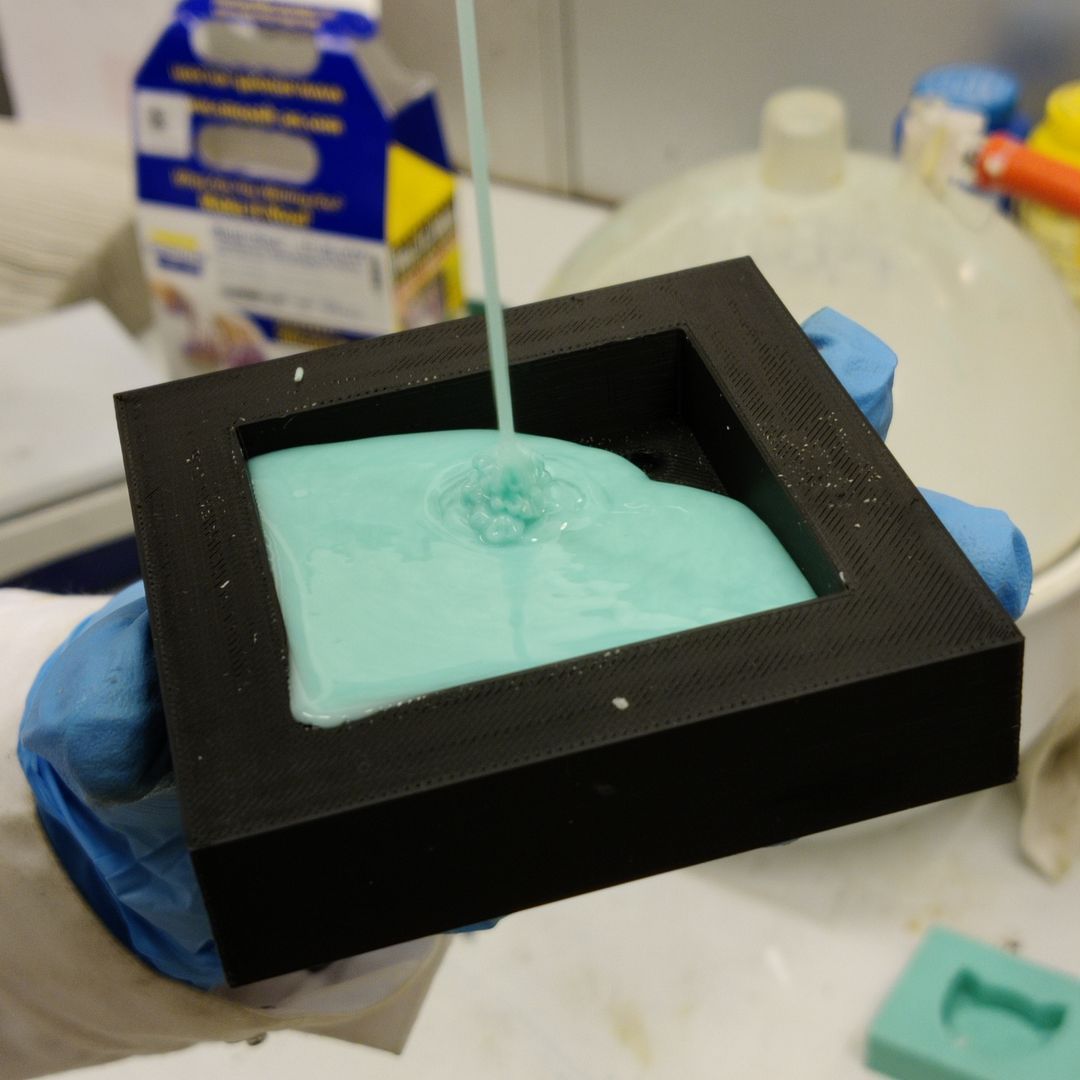
Try to pour as close to the top of the molds as possible. Err on the side of too much. It’s easier to remove and sand down excess material on the edges than to add it if it’s missing.
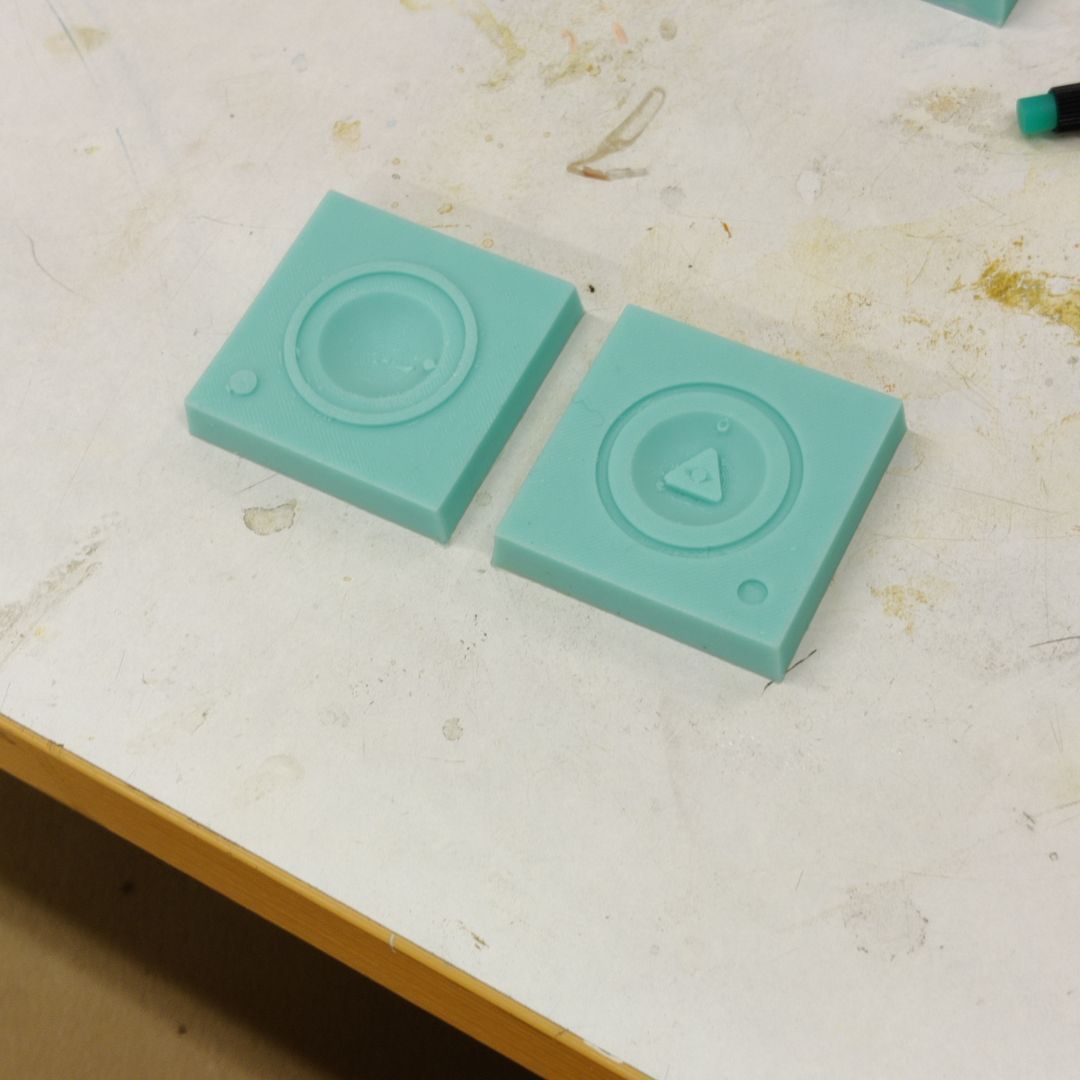
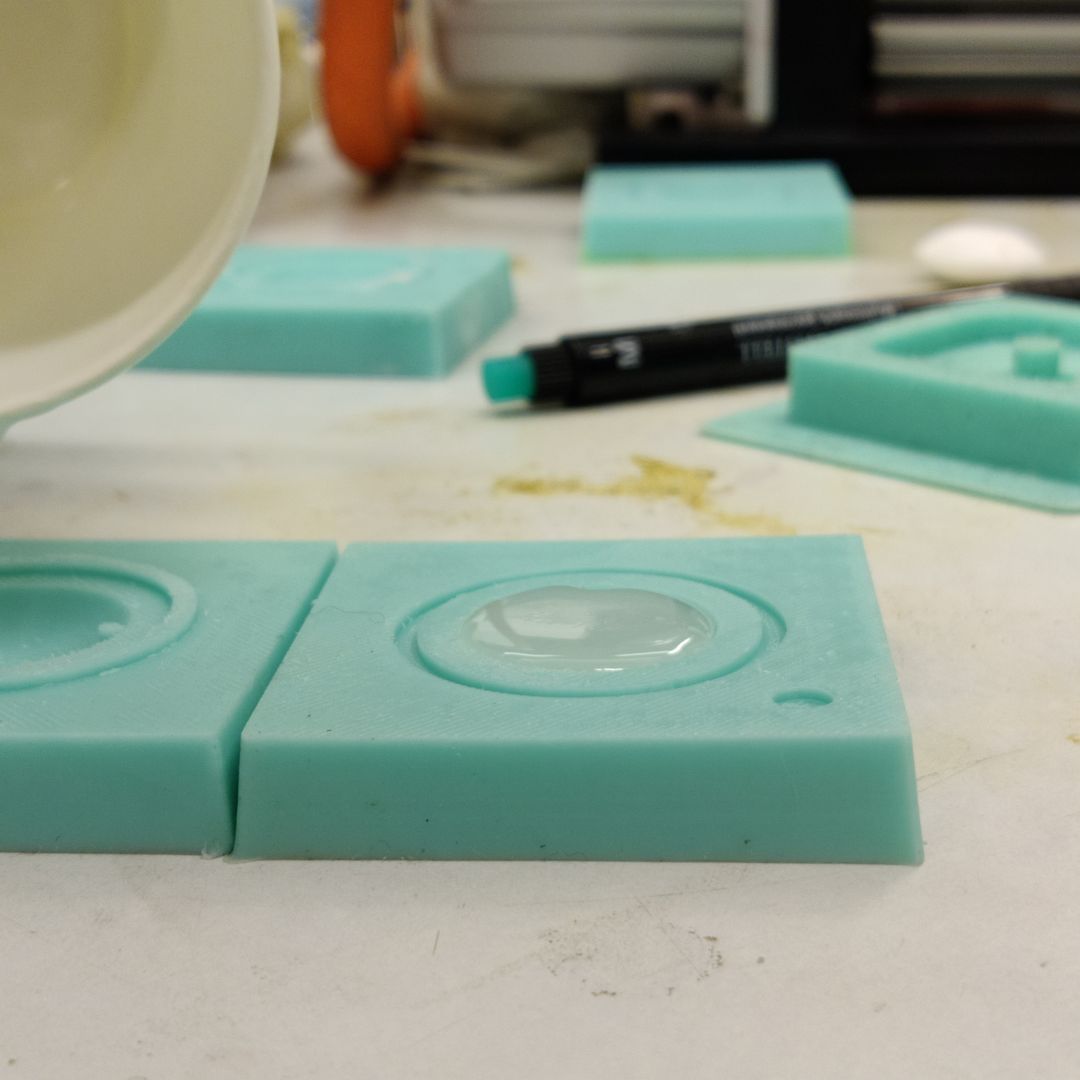
The example mold had convenient grooves to help with the alignment of the two halves. Aim to integrate something similar in your own designs.
Place a weight on top of the molds
A finished example from a previous introduction session.